
Planning & Preparation for Project, as a Whole
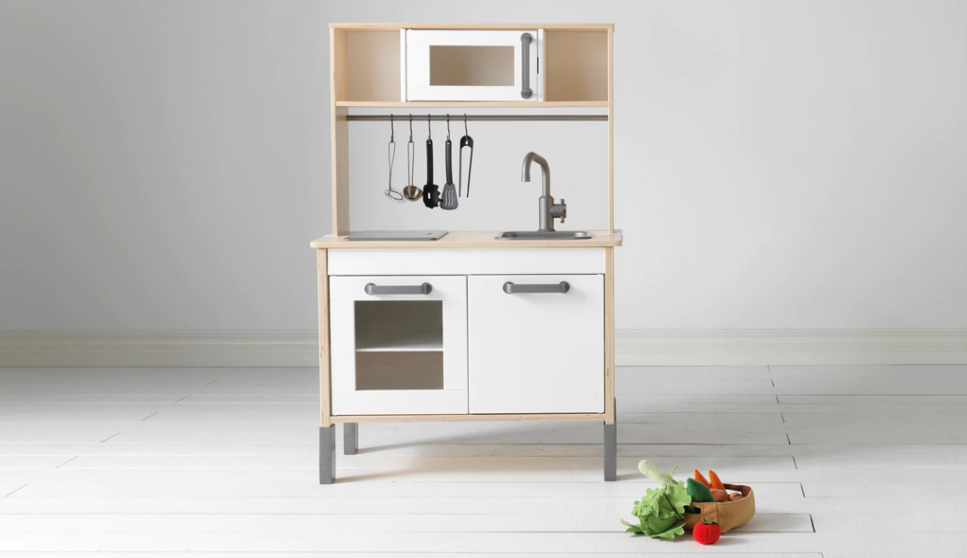
After discovering an endless number of hacks to bling out your child’s DUKTIG play kitchen on Pinterest and Google, my husband and I decided to embark on one for our own. In early January, we brought home the kitchen in the standard IKEA flat box, along with several other accessories from IKEA. Our little was just 14 months then. In the coming two months, we also acquired pieces from Lowe’s, CostPlus World Market, Target, Amazon, Costco, Joann Fabric and beyond. Now that she’s walking and with Easter quickly approaching, we thought it was time to start assembly.
Shopping List
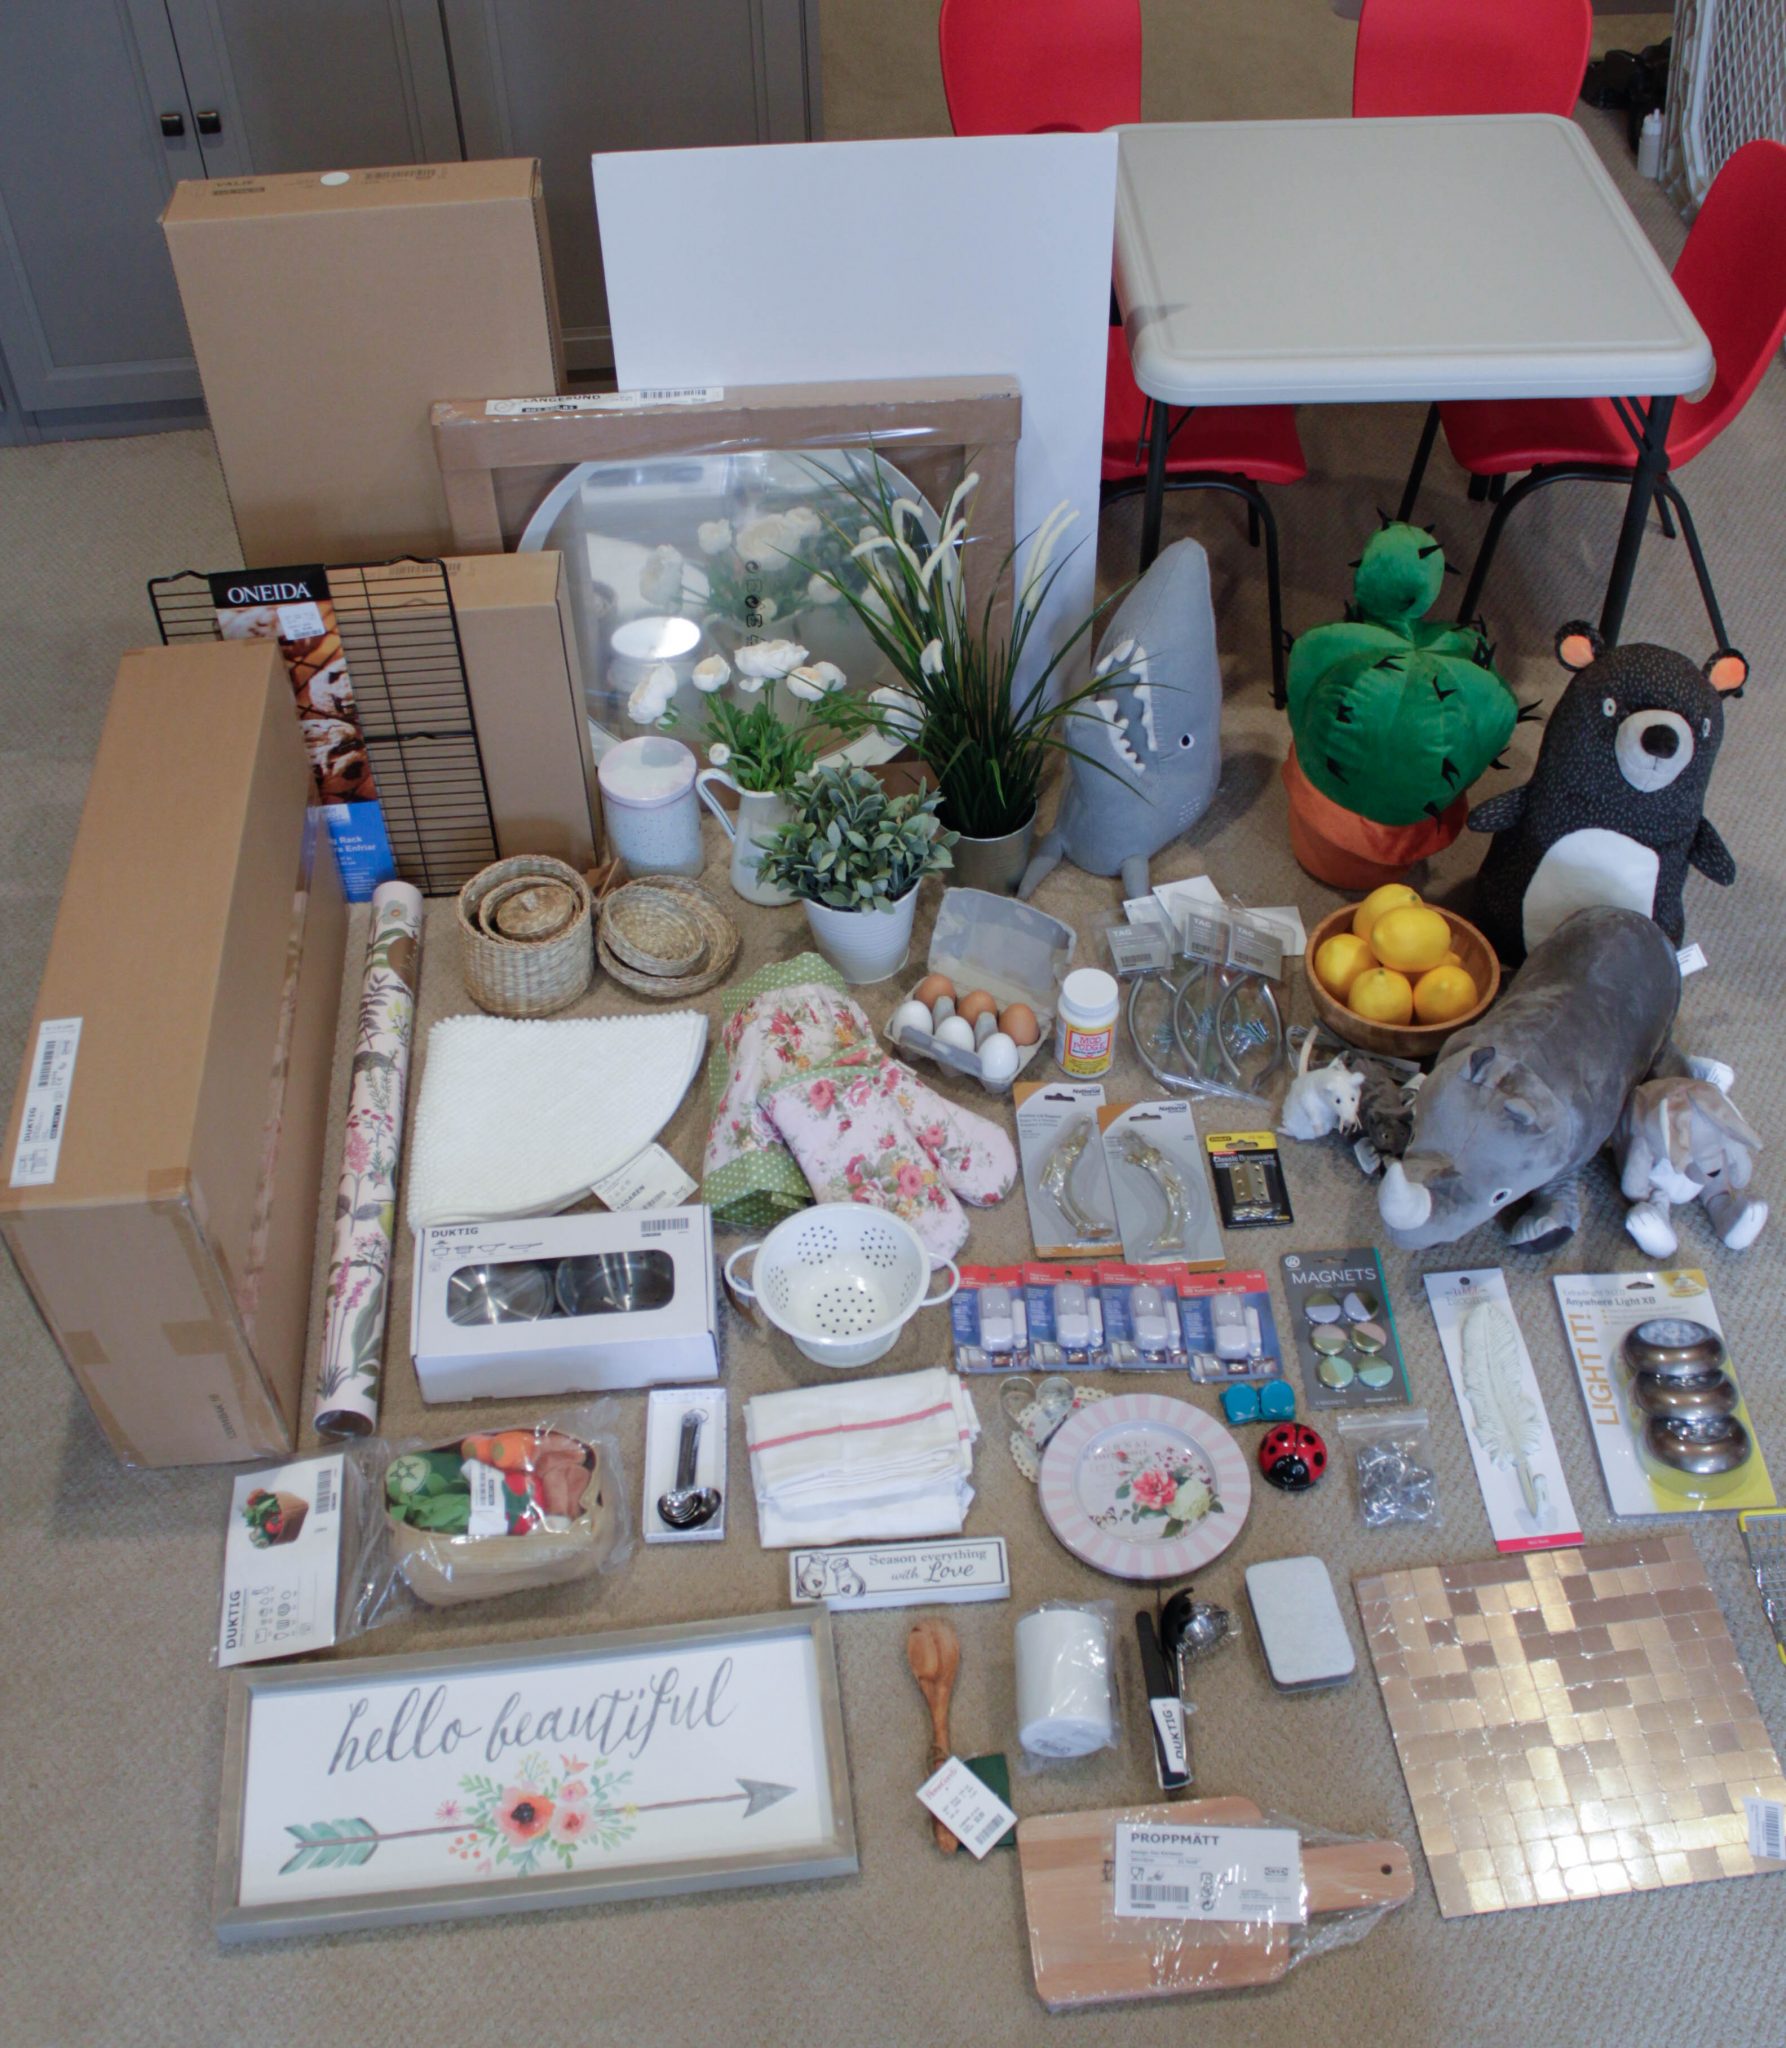
As we acquired items and saw favorite hacks online, we started a list of notes of exactly what we wanted to do to customize her play kitchen. Shopping List (with Products Hyperlinked Where Possible):
- IKEA: DUKTIG Childrens Play Kitchen, VALJE Wall Cabinets, LANGESUND Mirror, Faux Plants & Flowers, Planters, MJÖSA Toothbrush Holder, BADAREN Bath Mat, SVAMPIG Sponge, DUKTIG Toy Utensil Set, PROPPMÄTT Chopping Board, BLANDA MATT Serving Bowl, TEKLA Dish Towels, LJUSNAN Set of 3 Lidded Boxes, UDDIG Set of 3 Storage Cans, ÖNSKAD Rhino, GOSIG MUS Mice, GOSIG KANIN Rabbit, HEMMAHOS Cactus, DUKTIG Cookware Set, DUKTIG Vegetables Set, OLEBY Magnetic Clips, SYRENTRY & BERTA Plastic-Coated Fabric
- Costco Wholesale: Table & Chairs
- Rifle Paper Co.: Gift Wrap
- CostPlus World Market: Mini Colander, Decorative Lemons, Heart Cookie Cutter
- HomeGoods: Cookie Cooling Rack, Small Wooden Spoon
- Amazon: Adhesive Backsplash, Automatic Magnetic Sensor Lights, Puck Lights, Apron, Oven Mitts, “S” Hooks, Hinges, Lid Supports (1 Left, 1 Right), Mod Podge, Wooden Eggs, Mini Shopping Basket
- Hobby Lobby: Plates, Ladybug Kitchen Timer (Spring 2017)
- Joann Fabric: “Hello Beautiful” Wall Sign, “Season Everything with Love” Block Sign, Feather Wall Hook
- Michaels Craft Store: White Foam Board
- Target: Shark Head, Bear (no longer available), Set of 6 Magnets
- eBay: IKEA TAG Handles
- Gift at a Baby Shower: Heart-Shaped Measuring Spoons
- Crate&Kids (f.k.a. Land of Nod): Wooden Play Food
- Fawn & Forest: Broom
- Home Depot: Behr Paint Color PPU18-16M Elephant Skin in Semi-Gloss (Already Had)
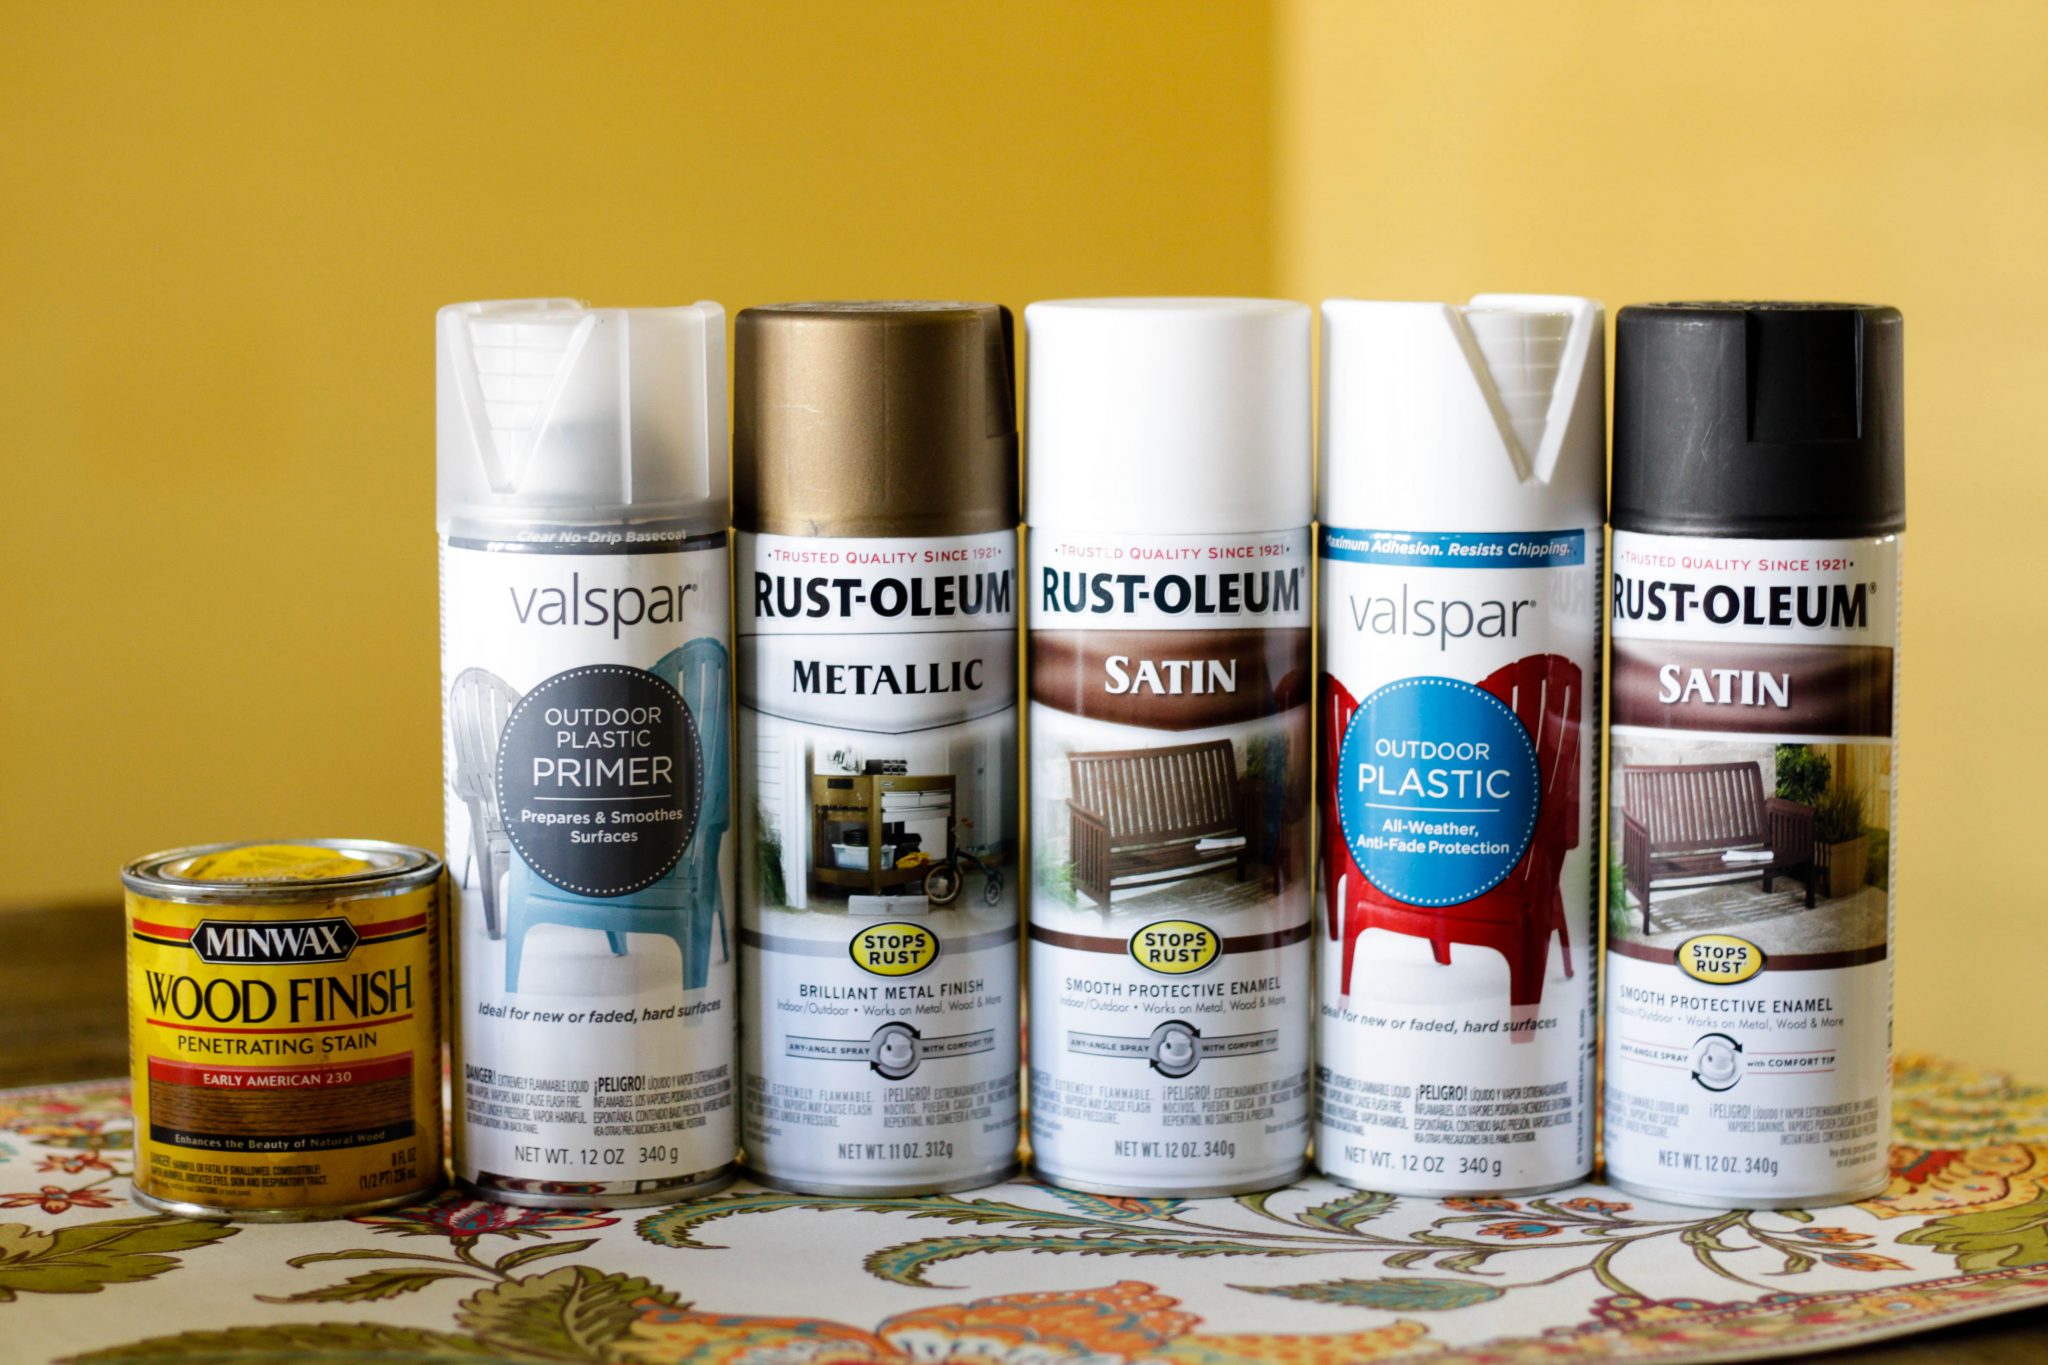
- Lowe’s: Spray Paint, Adhesive Spray, Sheet Metal, Wood Stain
- Tools to Assemble IKEA Furniture, Painter’s Tape (Already Had)
Planning & Preparation for Freezer / Refrigerator Combination
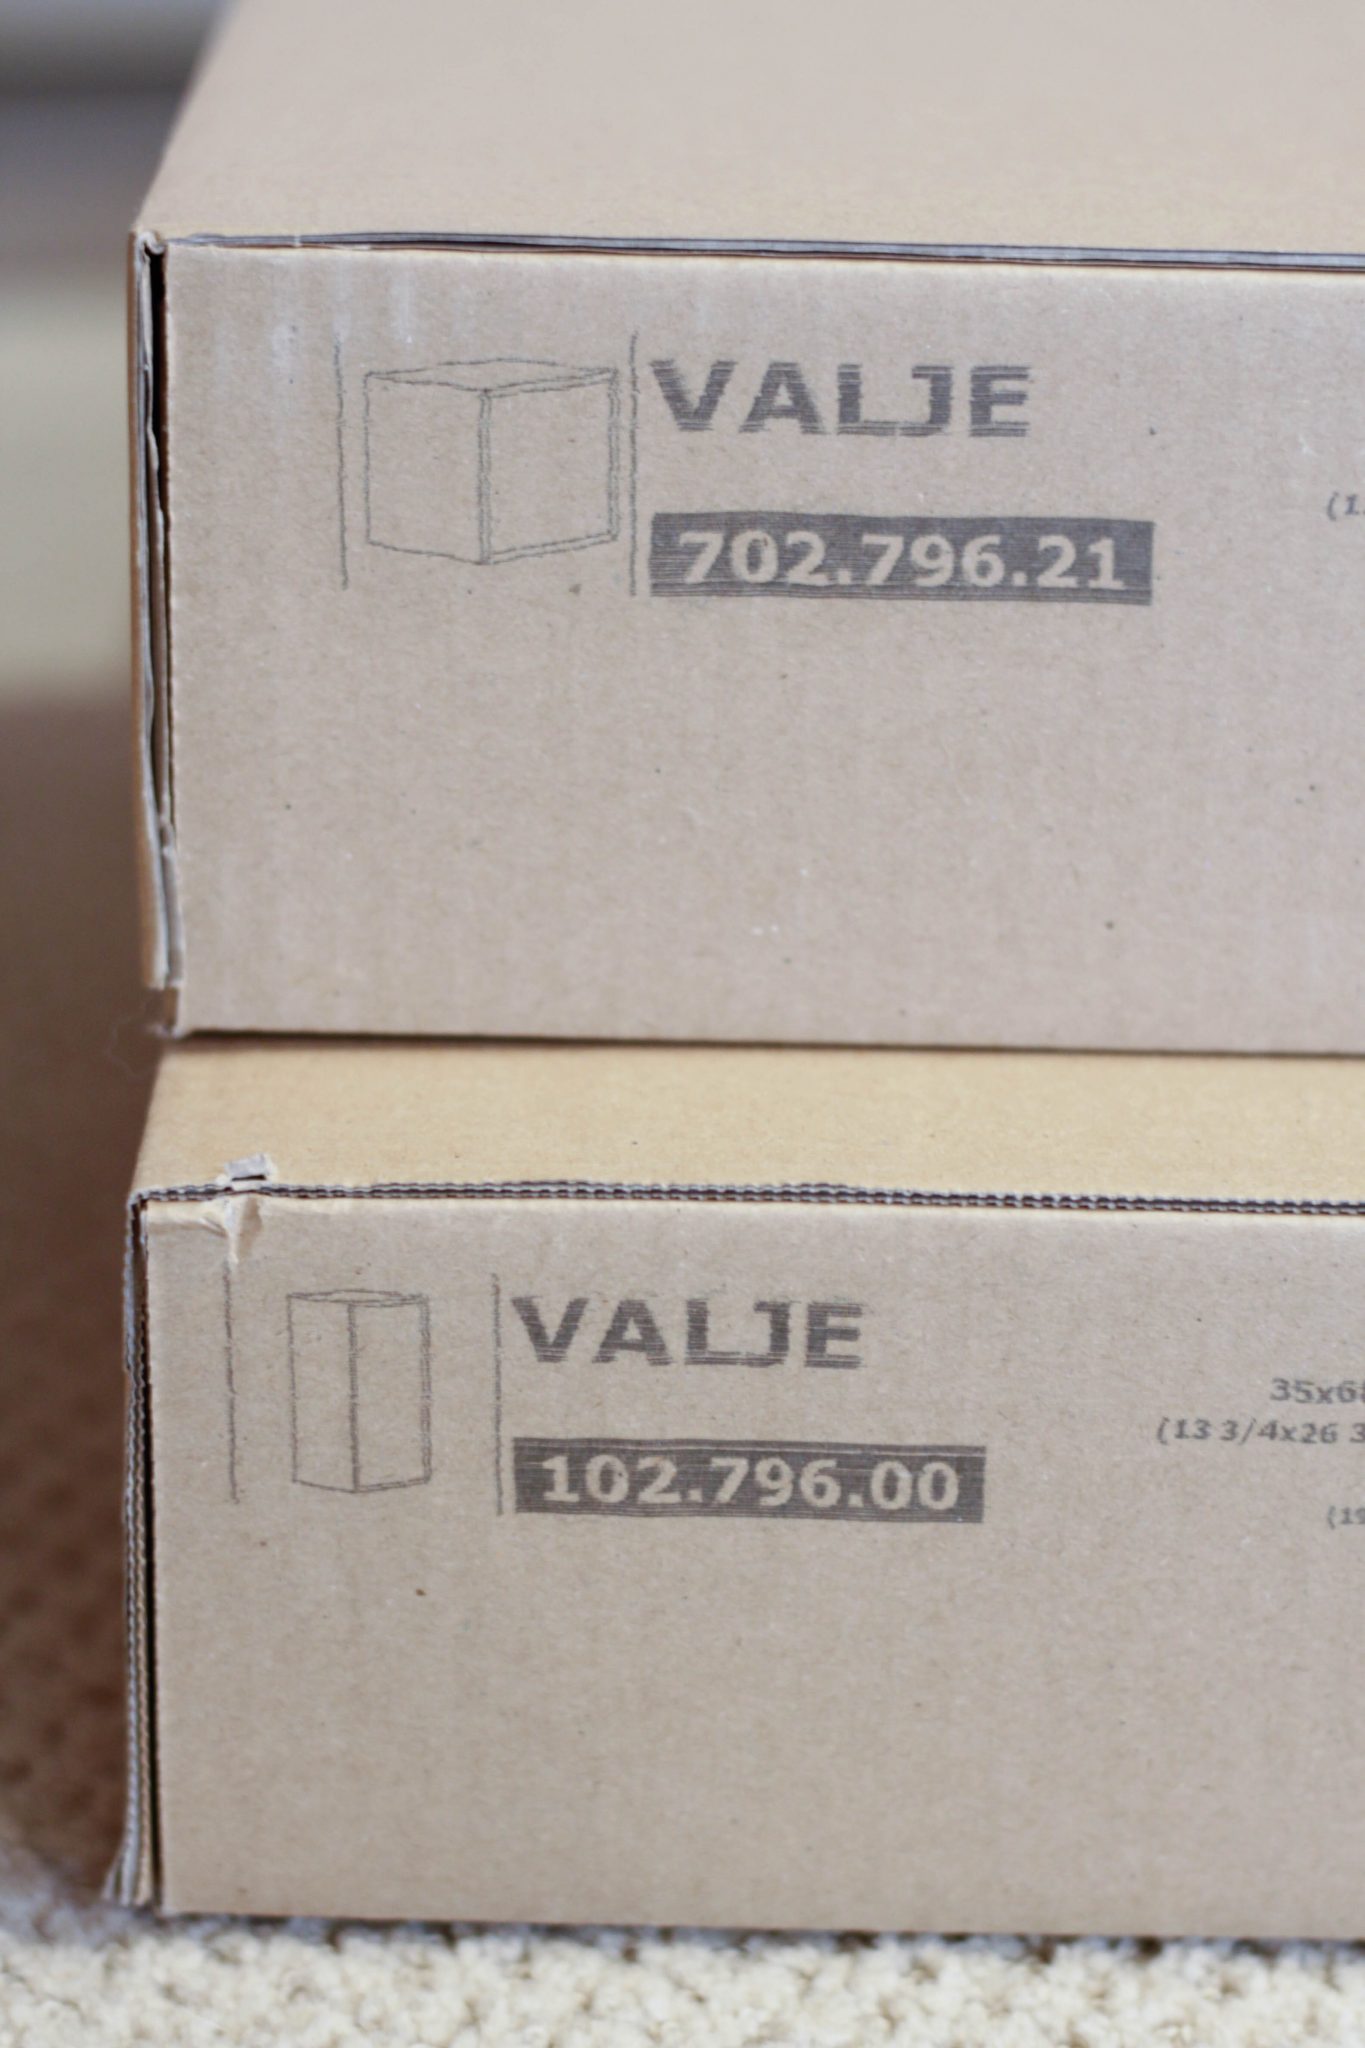
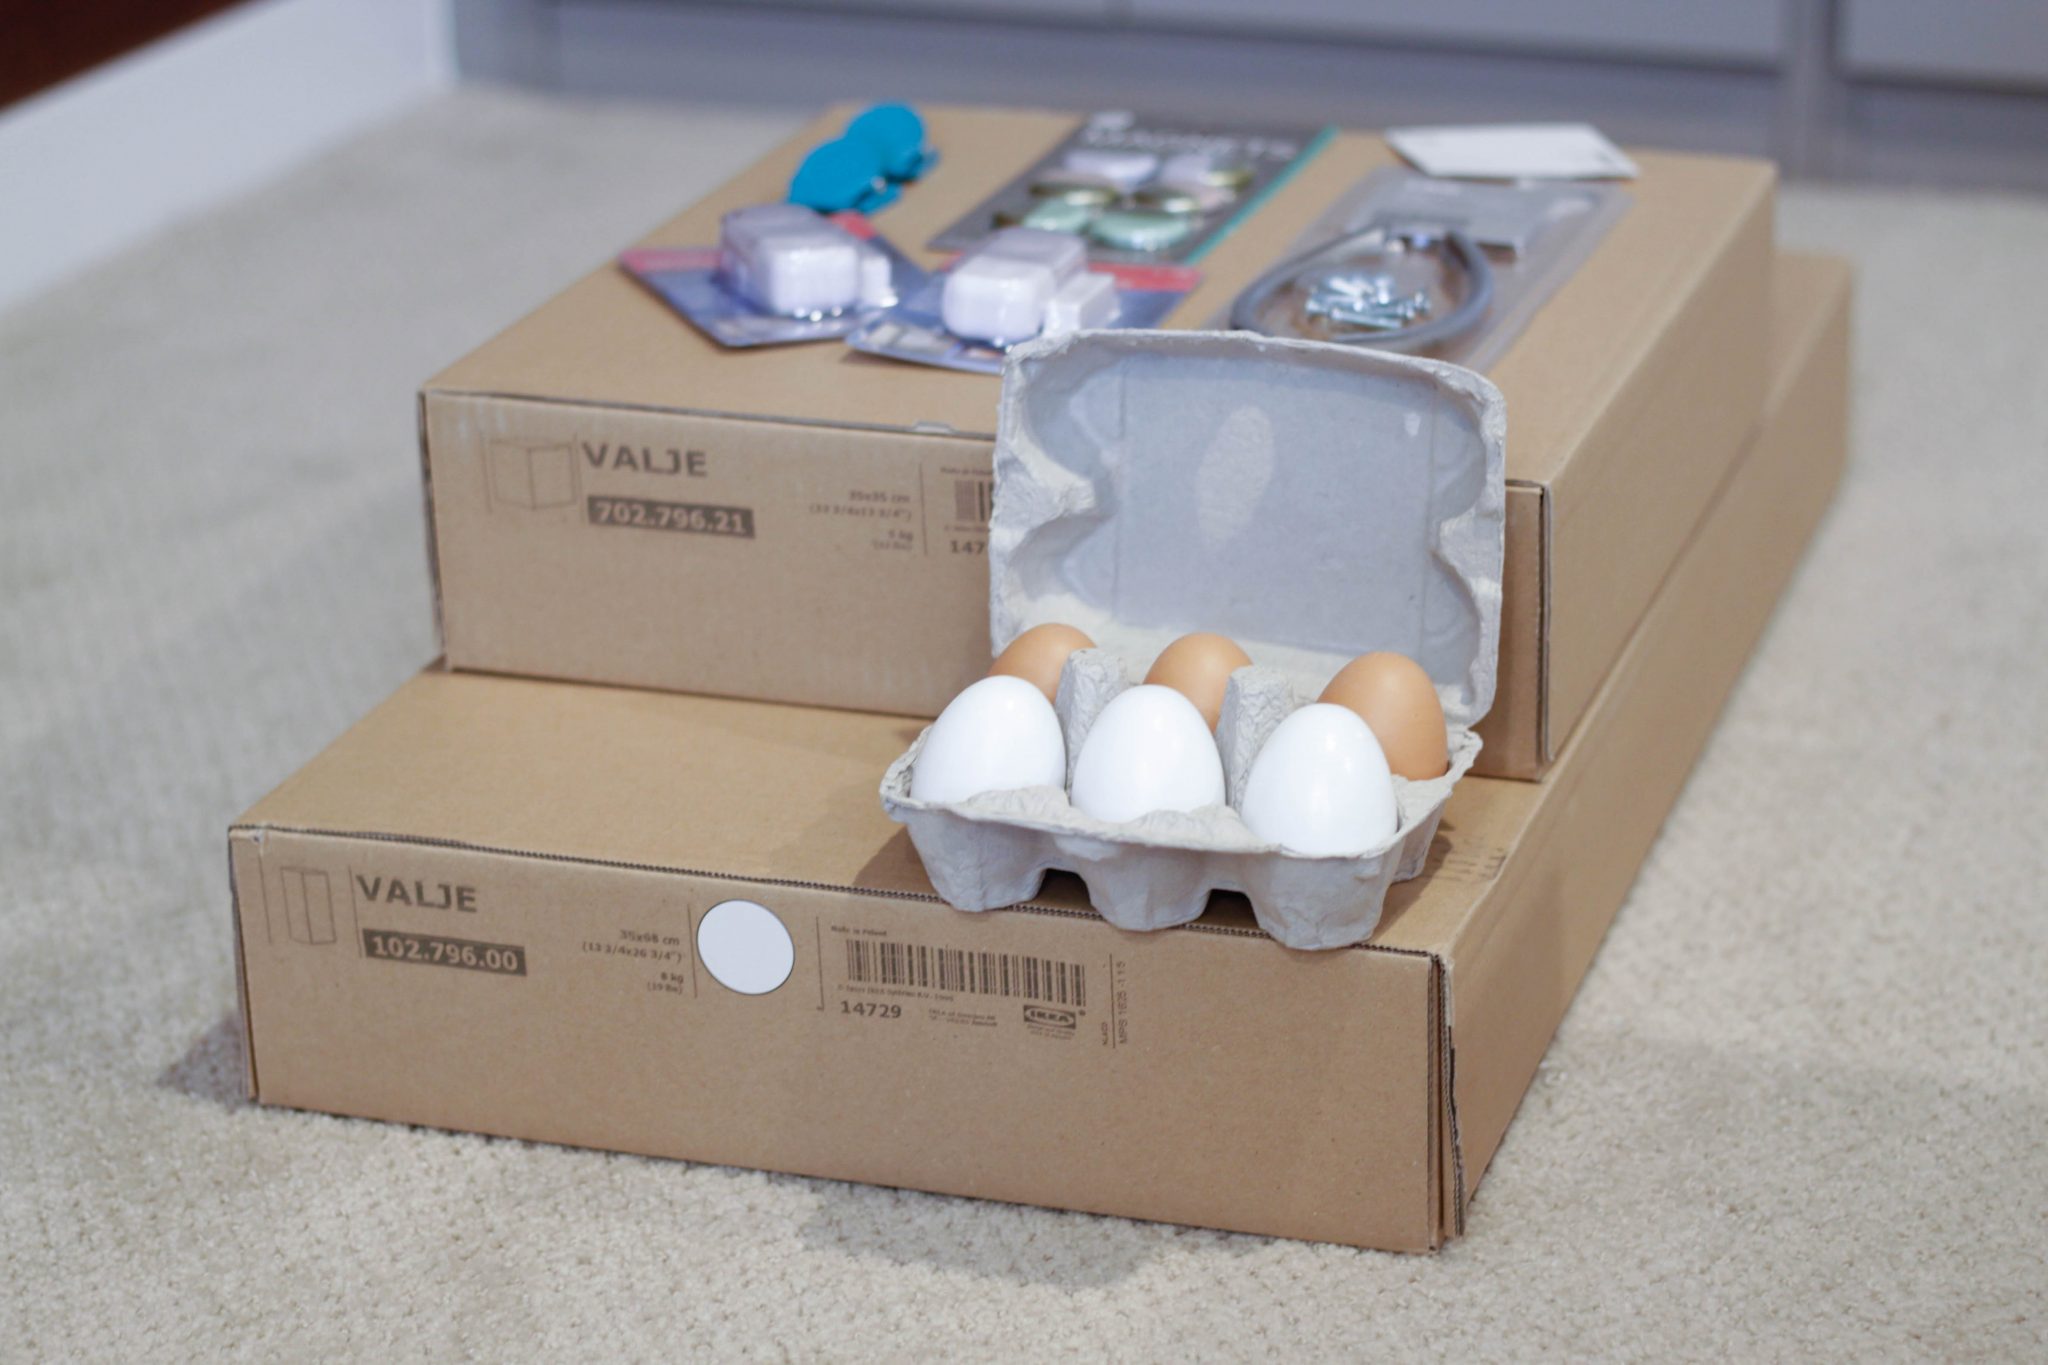
Unfortunately, the DUKTIG is a single piece, with sink, countertop, shelves, microwave, and oven all built into one center. But, lacking a common appliance: a refrigerator. After looking online for options, just nothing seemed to suit our needs…especially in that we didn’t want it to be overly expensive. On a return visit to IKEA, we stumbled upon two VALJE clearance items, that when stacked would make a perfect fridge and freezer combo. The smaller piece was on sale for $15 and the larger on sale for $25.


Getting Started Tip: Note that the DUKTIG Children’s Play Kitchen is not at all easy to get replacement parts for at IKEA. You can’t find parts on eBay, CraigsList, nor Facebook trading groups. Keep that in mind, before you start your hack, to plan out and be maticulous with each of your steps.
 So, we actually decided to assemble this first, since we knew one of the things we wanted to do to it was make the door fronts’ magnetic. And, by assembling it, we would be able to measure the doors and see how attaching a thin piece of sheet metal would work and allow for free movement of the doors. Both doors were about 12 and 3/16″ wide. The smaller one, was similarly tall. The larger one, was 25 and 3/16″ tall. We paid a visit to Lowe’s, our favorite home improvement store, and found thin sheet metal that worked with her magnets (we took one along with us to the store to check for a perfect match). We also bought Loctite Professional Performance Adhesive Spray, in order to attach them to the VALJE fronts. We were originally thinking small tacks in the corners, but we didn’t find anything initially that was as shallow depth as the doors.
Painting & Staining
The other thing we did, mind you we were limited to working during her 2.5-hour afternoon naptime, was separate the parts that were to be spray painted a different color. We happened to have some Minwax Wood Finish Early American stain on hand, so we decided to go the route of staining the counter top. Several hack projects online use contact paper to wrap the counter top, but the one we liked most, used stain. Also, we decided to spray paint all other “wood” colored parts in satin white, leaving just the counter top in a wood tone. We are painting all of the handles (which we subbed out for IKEA TAG handles), the faucet, metal sheets, metal rod, “s” hooks, legs, and a silver-toned flower pot in a brushed bronze color. The sink and the edge of the stove top will be spray painted in a glossy white, similar to that of a “farmhouse sink.” The interior of the oven will be painted in a dark gray paint we recently painted a contractor-basic vanity in our house in. And, finally, black spray paint to have a border on the interior glass of the oven door.


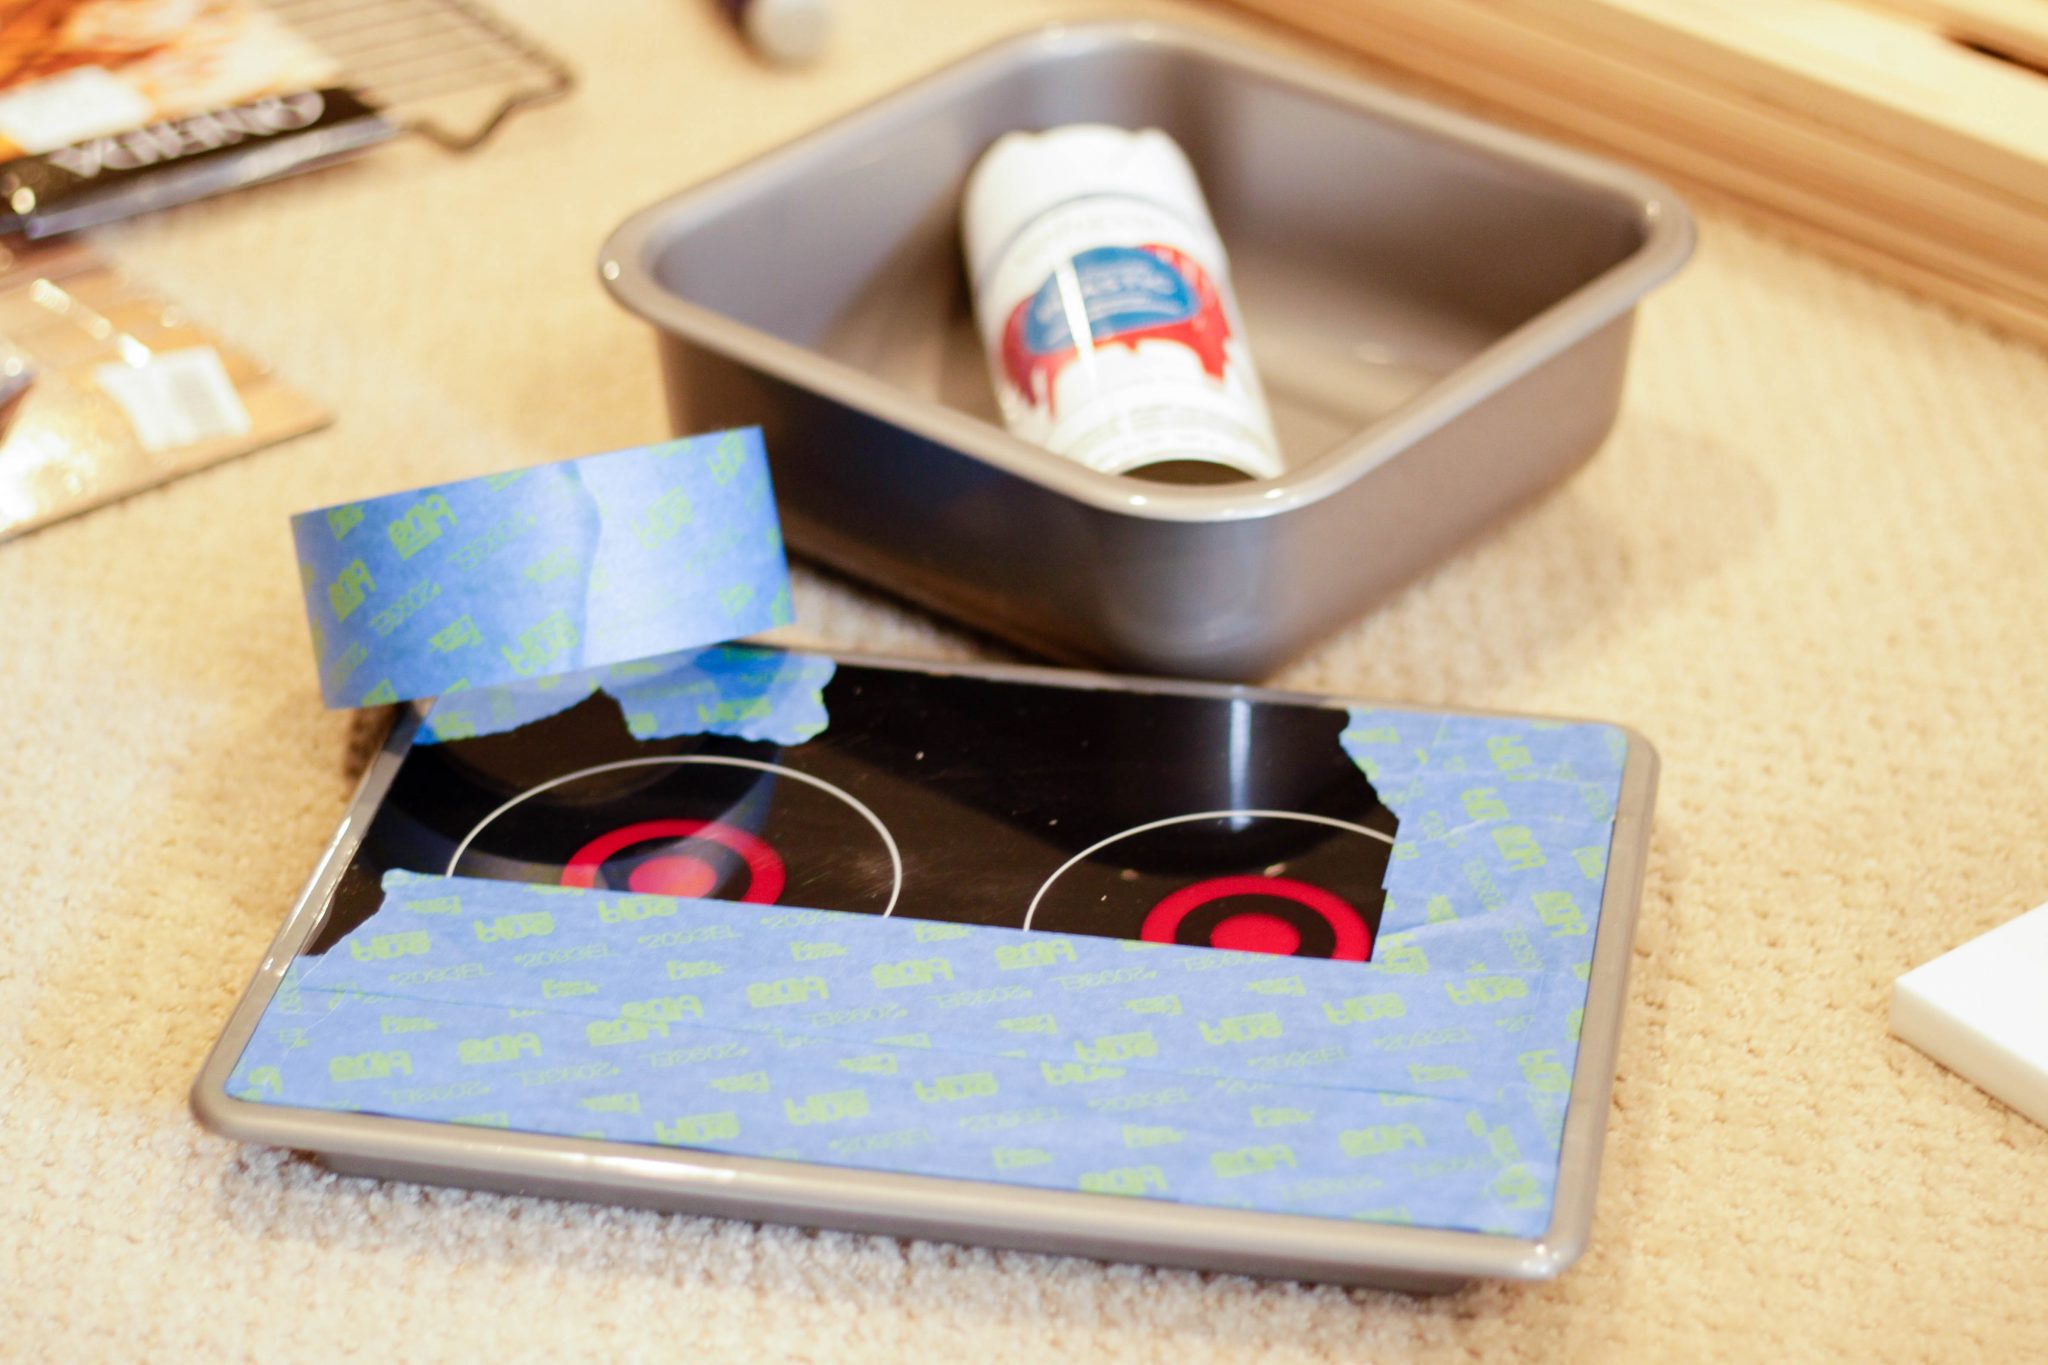
After reviewing that list of notes we had made over the two months, we separated the pieces into their five groupings for spray painting. At this point, we opened up the DUKTIG box, in order to get at the chrome- and wood-colored parts inside. Next, we taped off the stove top, using painter’s tape so that just the border would show for spray painting. We left the clear protectant film on the stove top, but peeled it back slightly and recovered with the tape, if it happened to overlap the silver border anywhere. I also used my fingernail to make sure the small divet between the stove top and the border was precisely covered with the tape. I found that working on the corners first and cutting the rounded corners with scissors seemed to help. It was then easy to fill in the remainder of the straight-edge area.
Similarly, albeit a little more complicated, also taped off the inside of the oven door (the side with more holes in it), leaving just the part to be spray painted black exposed. We did this in a 1″ border, marking teeny tiny little dots at the corners, which actually wiped off by touch. Using my fingernail, I made sure the tape that wrapped inside the door frame didn’t accidentally cover the glass, and pushed it slightly underneath the frame. In order to do the rounded corners, I used one of the spray paint cans on hand, along with an X-ACTO knife and lightly scored the painters tape in order to peel it away.


After taping out the necessary items, it was now onto likely the biggest task of all: painting! We primarily used spray paint in order to speed up the painting process a bit. Our first color was satin black for the interior of the oven door.


At the same time, we focused on the “outdoor plastic” glossy white paint for the edge of the stove top and the “farmhouse-style” sink. Now is also a good time to mention a couple of key points: Wear a respirator / dust mask to reduce your chemical intake. Don’t spray paint in the wind. We noticed some crackly patterns appearing in some of our paint, which we were able to wipe off and repaint. Also, keep your distance, and do thin, even, directional coats. Use primer where recommended by your local hardware store professionals. And, we found a can of “duster” solution to be helpful to clear any particles from pieces just before painting them.


We opted to work on these pieces first, for two reasons: 1) they were the pieces that were taped out and required more attention to detail and 2) they were the paint colors that had the fewest number of pieces to test the waters with our setup. Our lesson learned after we painted the stove top is that we should have removed the “burner” top from the frame, as it was relatively easy to do (and then used painter tape to tape off the relevant inside parts). Paint unfortunately did get under the edge of the tape a bit and to no avail could we get it cleaned up again. We ended up solving the problem by using burnable DVDs (4.75″) with tape over the eye, over the 4″ diameter ranges (using small pencil marks to get them centered correctly), to spray the top of the range to cover up the faux pas. Once we removed the DVDs, we clear coated the entire surface of the range before popping it back into the stove top frame.


Next up, it was time to start coating the brushed bronze pieces. Most of these we hit with a clear coat primer first. This was the metal flower pot, the two pieces of metal purchased for the front of the freezer and refrigerator, the faucet, the rod, the “S” hooks that we bought, plus the ones supplied with the DUKTIG, the legs, and the TAG handles. Here’s a sampling of the process:


For the TAG handles, we hit the underside, from both sides, before hitting the top. This was to cover any imperfections with the most visible side done last.


Not only does the faucet head pivot, but the faucet knob turns. Once the coat is dry, turn the knob, in order to easily spray paint the underside.


Simultaneously, while I worked on the brushed bronze pieces, the dear husband used an electric sander to remove the clear coat off the surface of the counter top. He then applied a coat of Early American-colored stain to the piece (top surface, and the front, left, and right edges only) which absorbed nicely.


To end the day, we applied Kilz in spray-paint form, to all remaining “wood-colored” pieces, so that our entire kitchen would be white, except for the beautifully stained counter top.
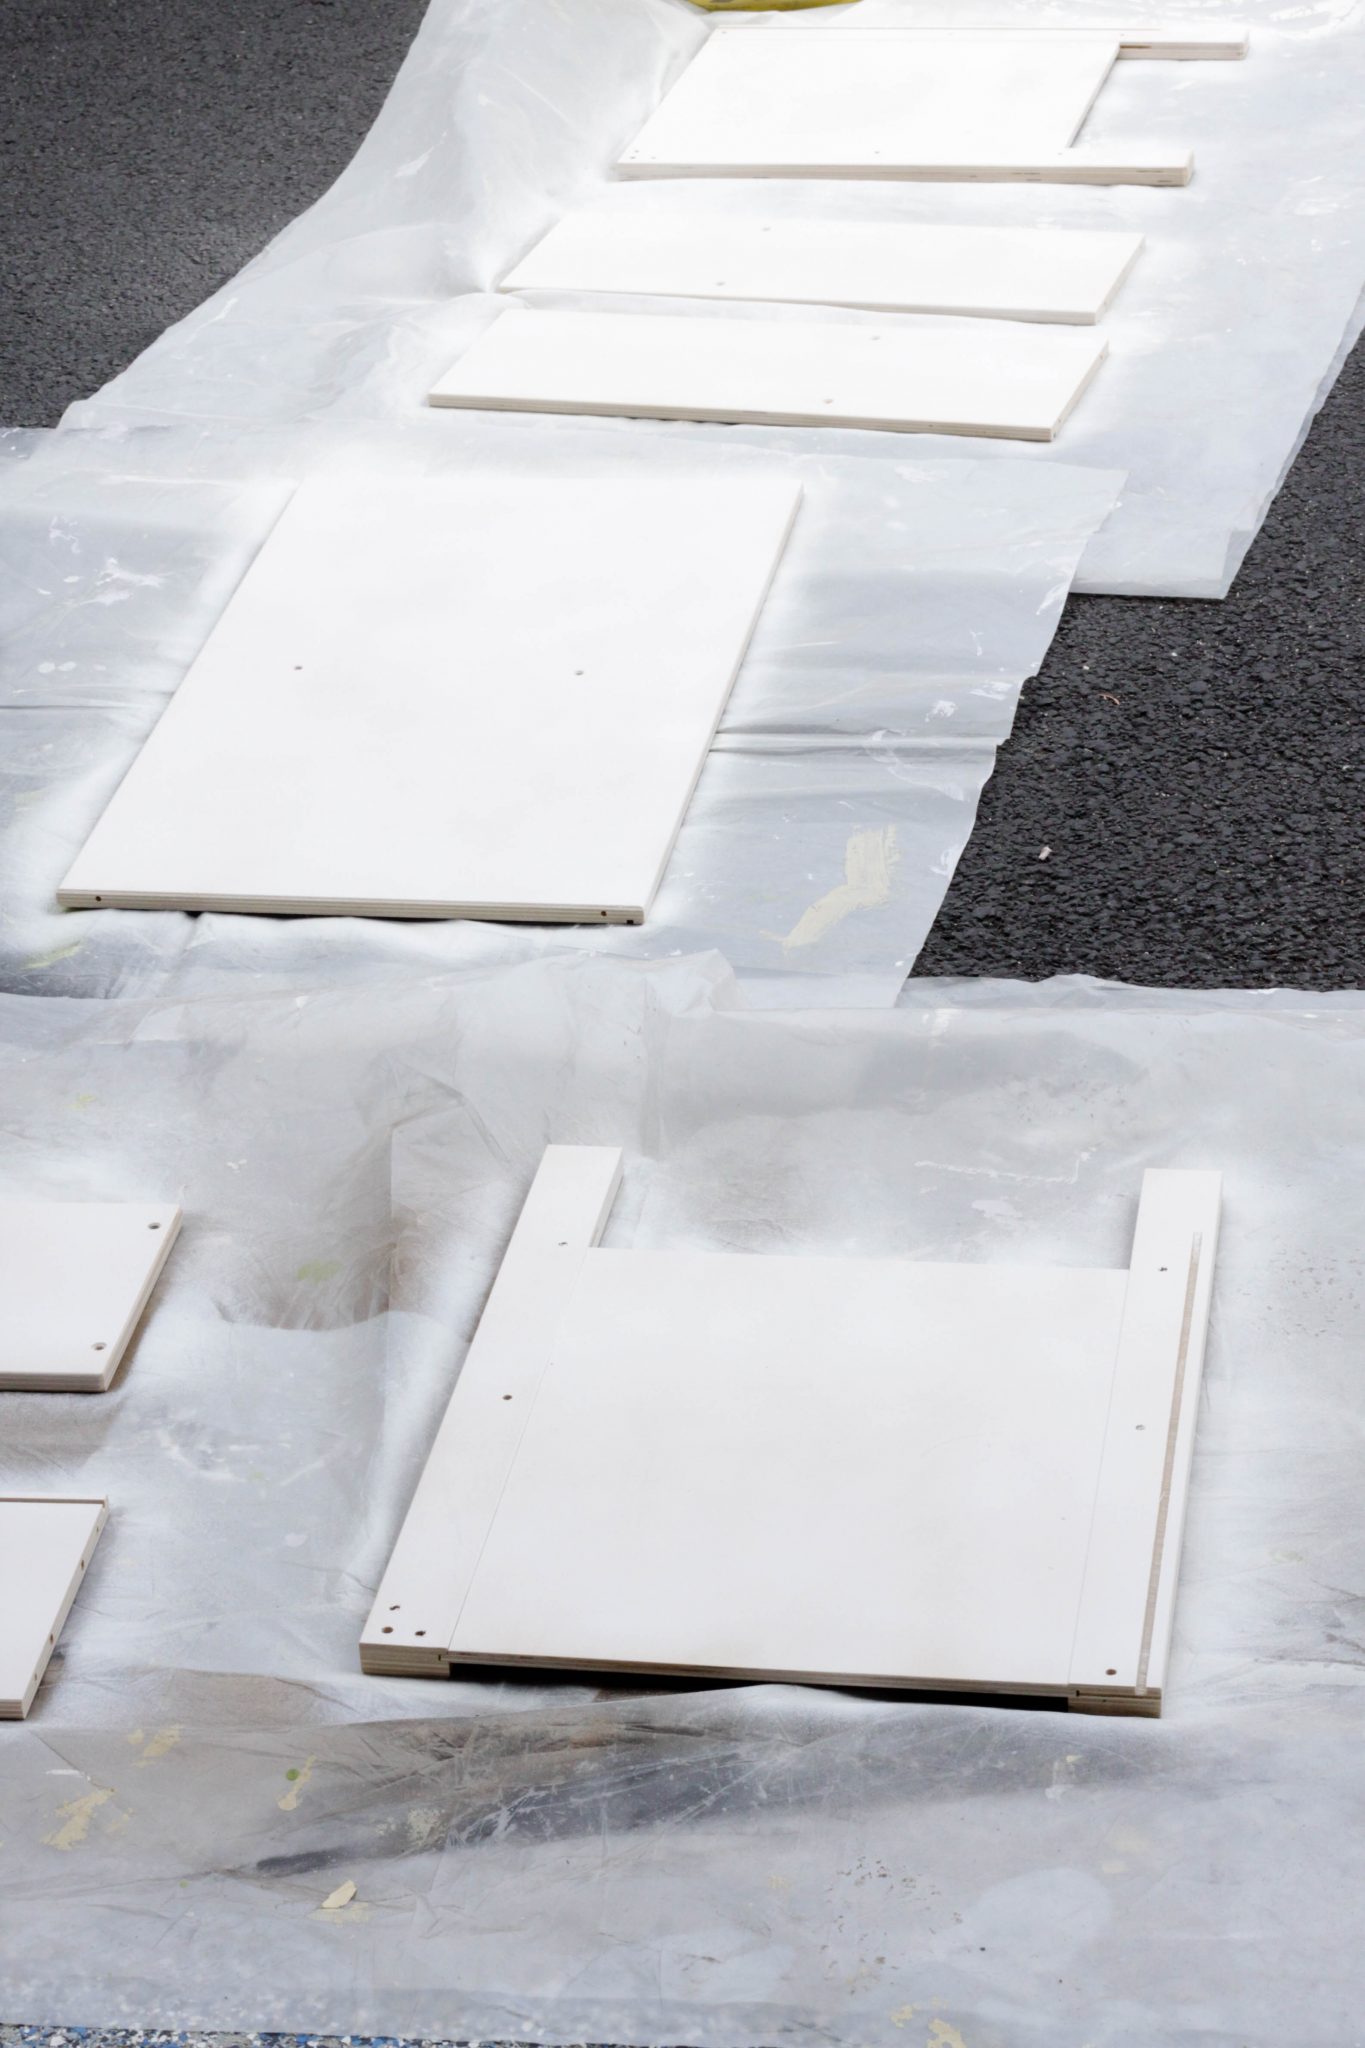
Later in the week, we followed up with two satin white spray paint coats on all of the previously Kilz wood pieces.
Assembly of the DUKTIG Kitchen Base
Now that all of the parts are painted and dry, it was time to start assembly. Following the included directions, we constructed the bottom section of the DUKTIG kitchen first. But, only up to the part that would allow for easy access to paint the inside of the oven gray. We had recently purchased a quart can of Behr “Elephant Skin” (PPU18-16M) in semi-gloss to paint an oak bathroom vanity, so we used what we had. We painted both the oven, taping out areas for straight lines, and then the inside side of the oven door. Also prior to painting, we filled the holes that would have been for the pivoting door with spackling paste.


Assembly of the VALJE Refrigerator / Freezer Combo
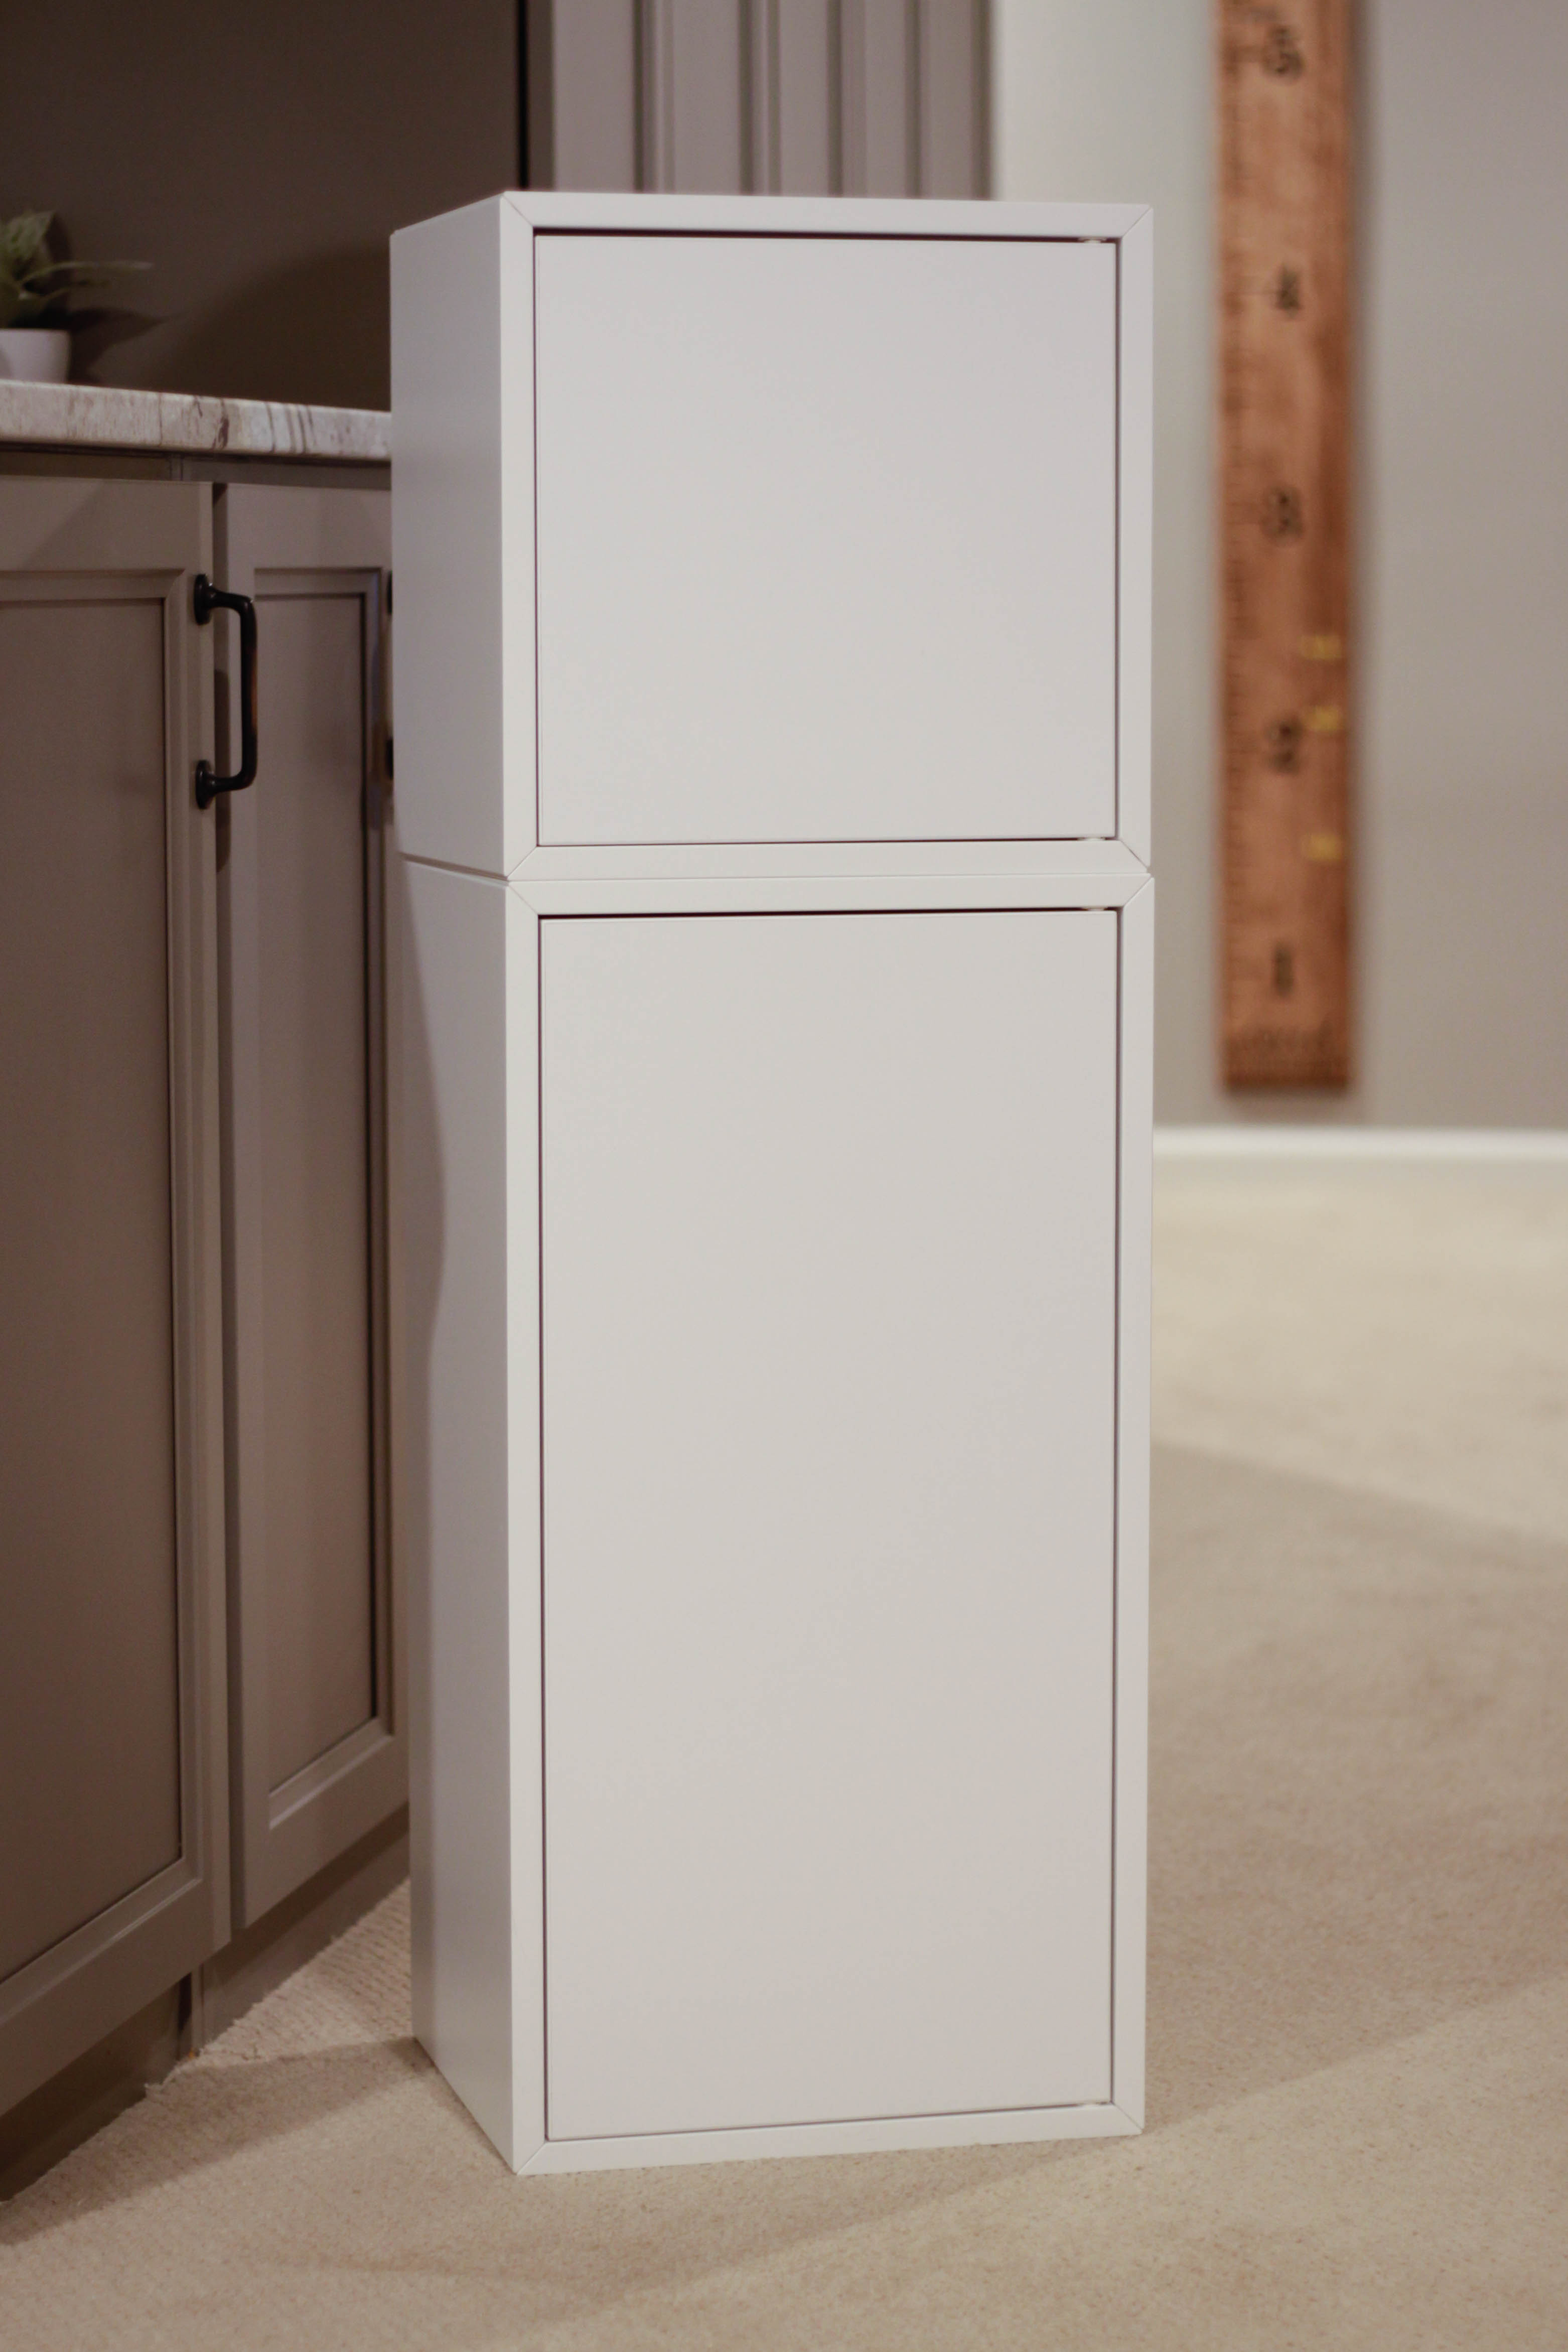
While the oven paint dried, we next focused on the refrigerator / freezer combo that we were building with VALJE components as the base. First up, we attached the two units together, with four screws inside the freezer unit.
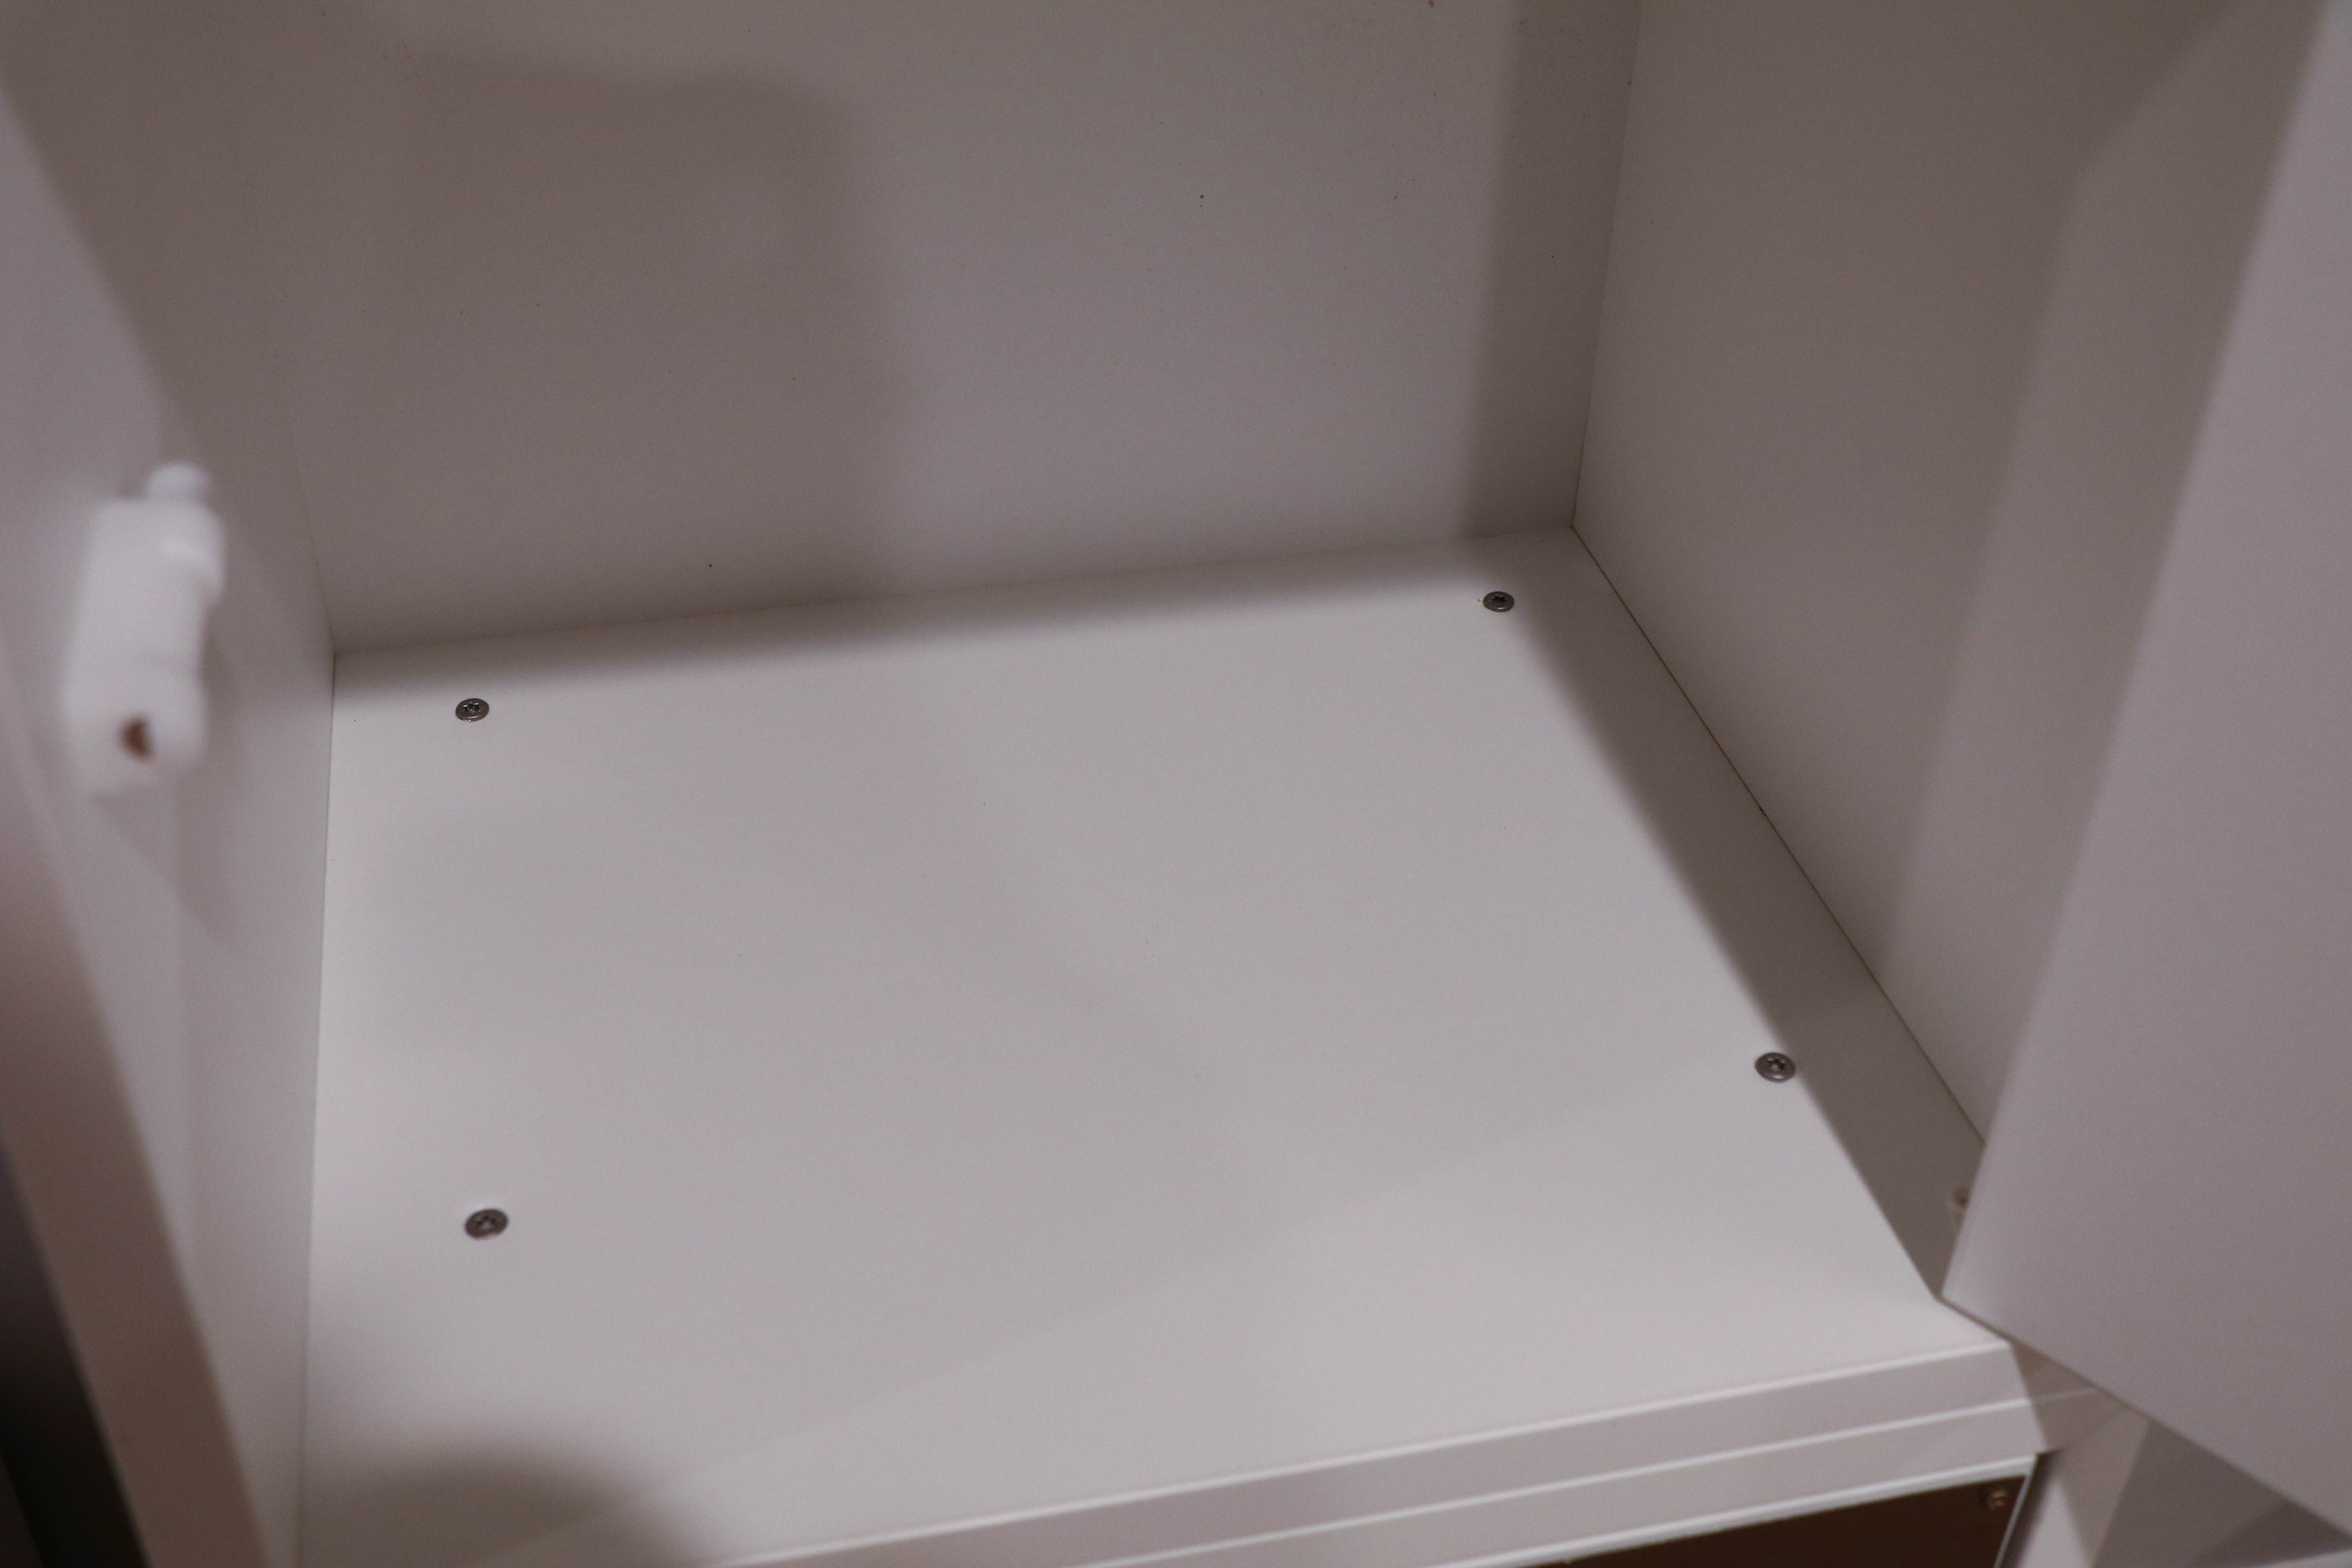
Then, we rested the entire unit on its back. We drilled small pilot holes at 0.25” away from the corners of the metal in all corners except for the one where the handles would go. Next, we sprayed Loctite adhesive spray on the back of the sheets of metal we had spray painted earlier and flipped these over and into position on the freezer and refrigerator doors. Once in position, we screwed small wood screws into the corners where the pilot holes were. Note: we had spray painted the heads on the screws in brushed bronze in advance of placing them too. We let this dry overnight with weights on top to hold them down in place. After letting the Loctite dry for a day, we resumed by using a cabinet mounting template to place the IKEA TAG door pulls on the freezer and the refrigerator. All that was left was to put the magnetic enabled lights inside, which we will get to later. So, whala, a magnetic-front freezer / refrigerator combo was done.


It’s All in the Oven Details
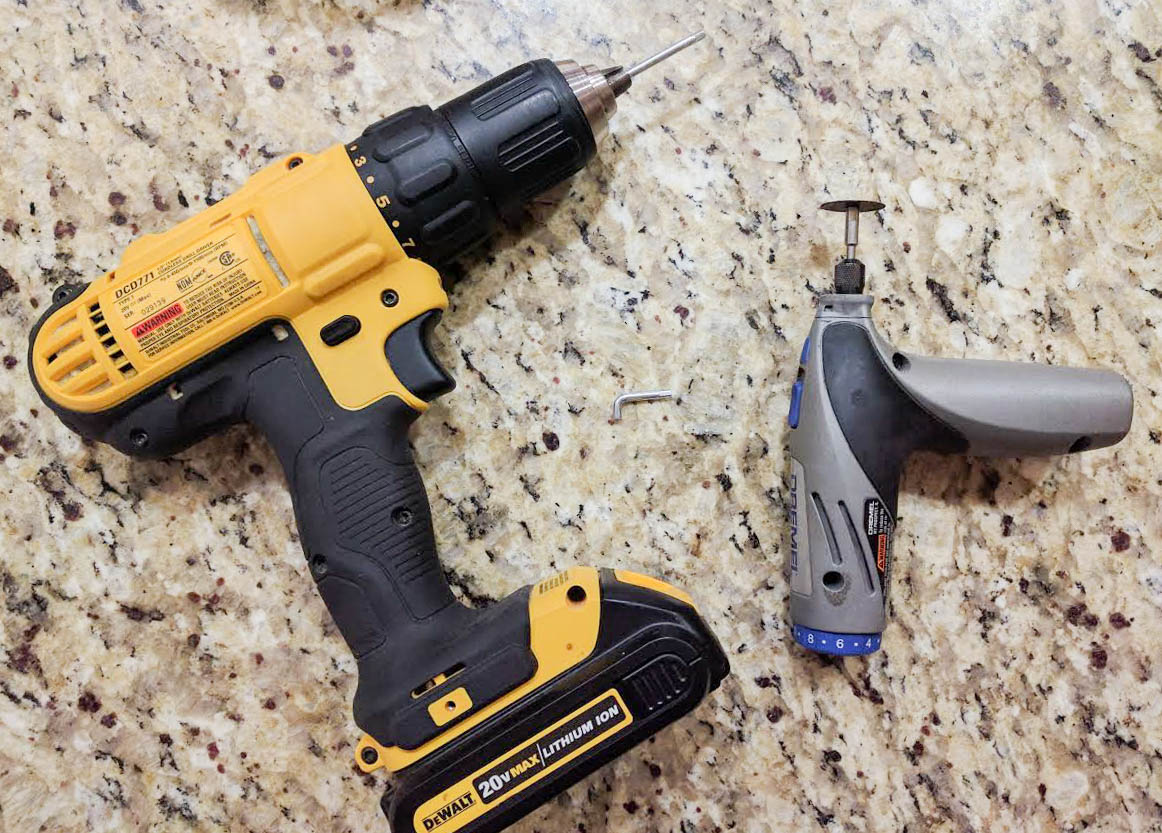
Back to the DUKTIG base, and after two coats of the gray paint had clearly dried, we focused on the two hardest parts of assembly. To replace the included “shelf” with a more realistic oven rack, we used an ONEIDA Simply Sweet 12″ x 17″ (30cm x 43cm) Cooling Rack, purchased at Home Goods on deep discount. Using a Dremel tool, we cut the rack to size and sanded down any potentially sharp metal points. Luckily, the 12″ width was exactly what we needed, so we only had to cut in one direction, and we put that at the back of the oven. We also had to slice the sides of the thick support bar off the middle, in order for it to easily glide into the support brackets provided with the DUKTIG kitchen.


After the oven rack was swapped out, next it was time to focus on the oven door. We loved the idea from Sandpaper and Silly Putty (which clearly is where we got several of our ideas), to use hinges and tension lid supports in order for the oven door to drop down, like a real oven door and not swing open like a cabinet door. This took some thought and luckily we were able to use the photos on that blog as a guide for where to place our hardware before proceeding.


So, now the oven is gray, has a proper rack, door swings down, and has a black frame to the window, to closely mirror that of a standard oven. Lastly, we would also put a magnetic enabled light inside, which we’ll get to towards the end of the project.
Assembly of the DUKTIG Kitchen Hutch
As my husband focused on the oven door, I built the hutch portion of the kitchen, making sure to swap out the included handles for the brushed bronze IKEA TAG handles we had spray painted earlier. Note: if you build your own freezer / fridge combination, use the same handles for all pieces, and same color scheme, etc. This will help the multiple pieces to look cohesive…as if they were sold together. We decided, even after purchasing the “S” hooks, to start out with the hooks provided with the DUKTIG since they didn’t come off as easily (and end up in a little one’s mouth…you know how that goes). We would later use the “S” hooks if we needed additional hooks to hang utensils, etc. from the rod at the back of the kitchen. Once done constructing the hutch, we attached this to the base. He found it easier to saw off the short end of the IKEA DUKTIG included hex key (allen wrench), attach it to his electric screwdriver (use a low torque setting).
As a last step on this particular evening, we hooked on the under-the-sink cabinet door, and called it a night.
Wallpaper & Back-Splash
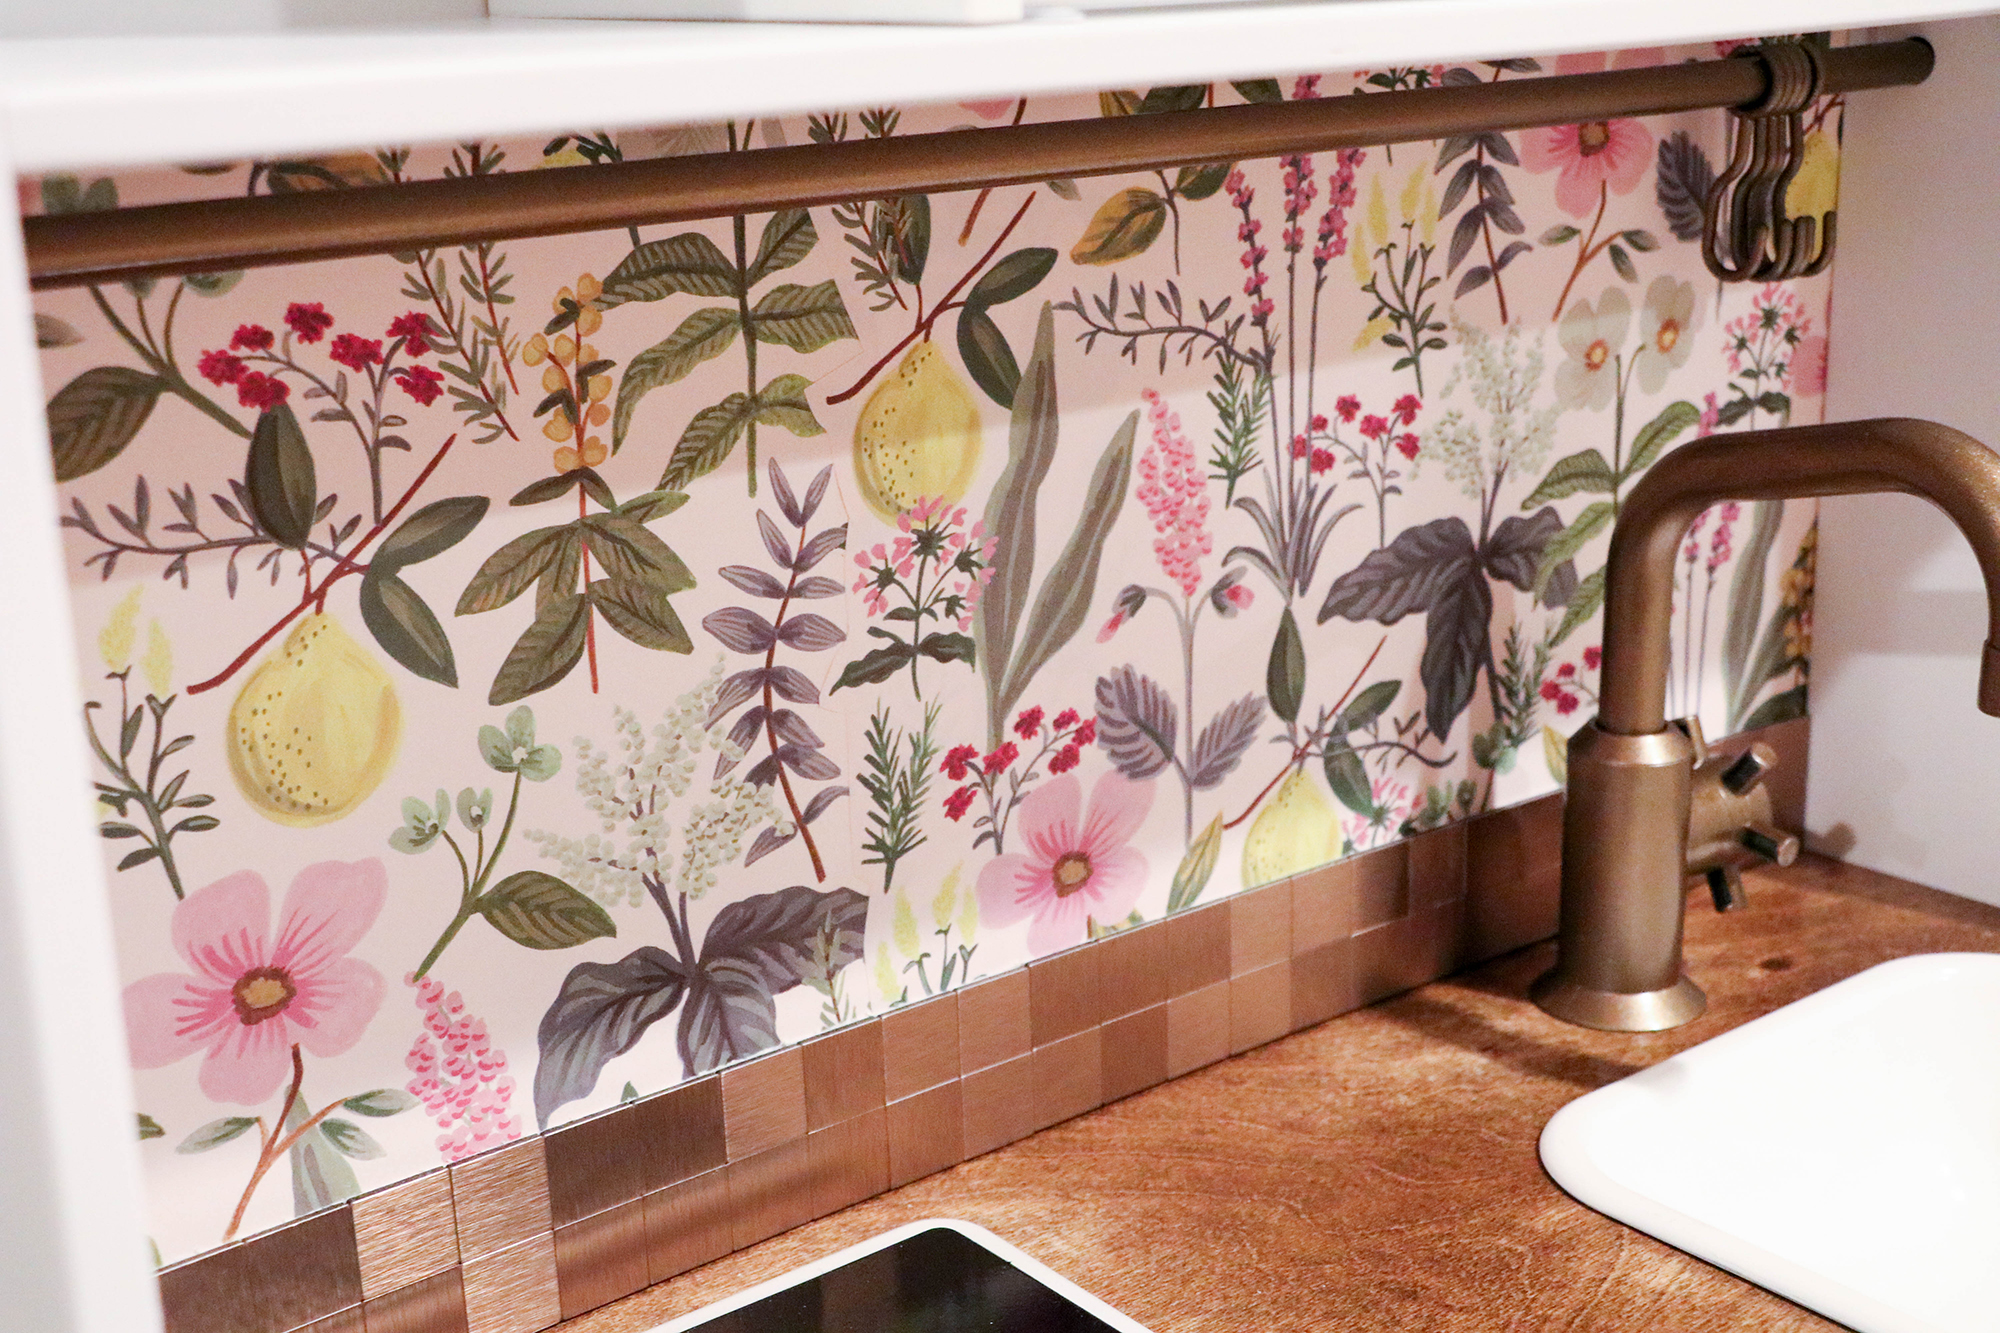
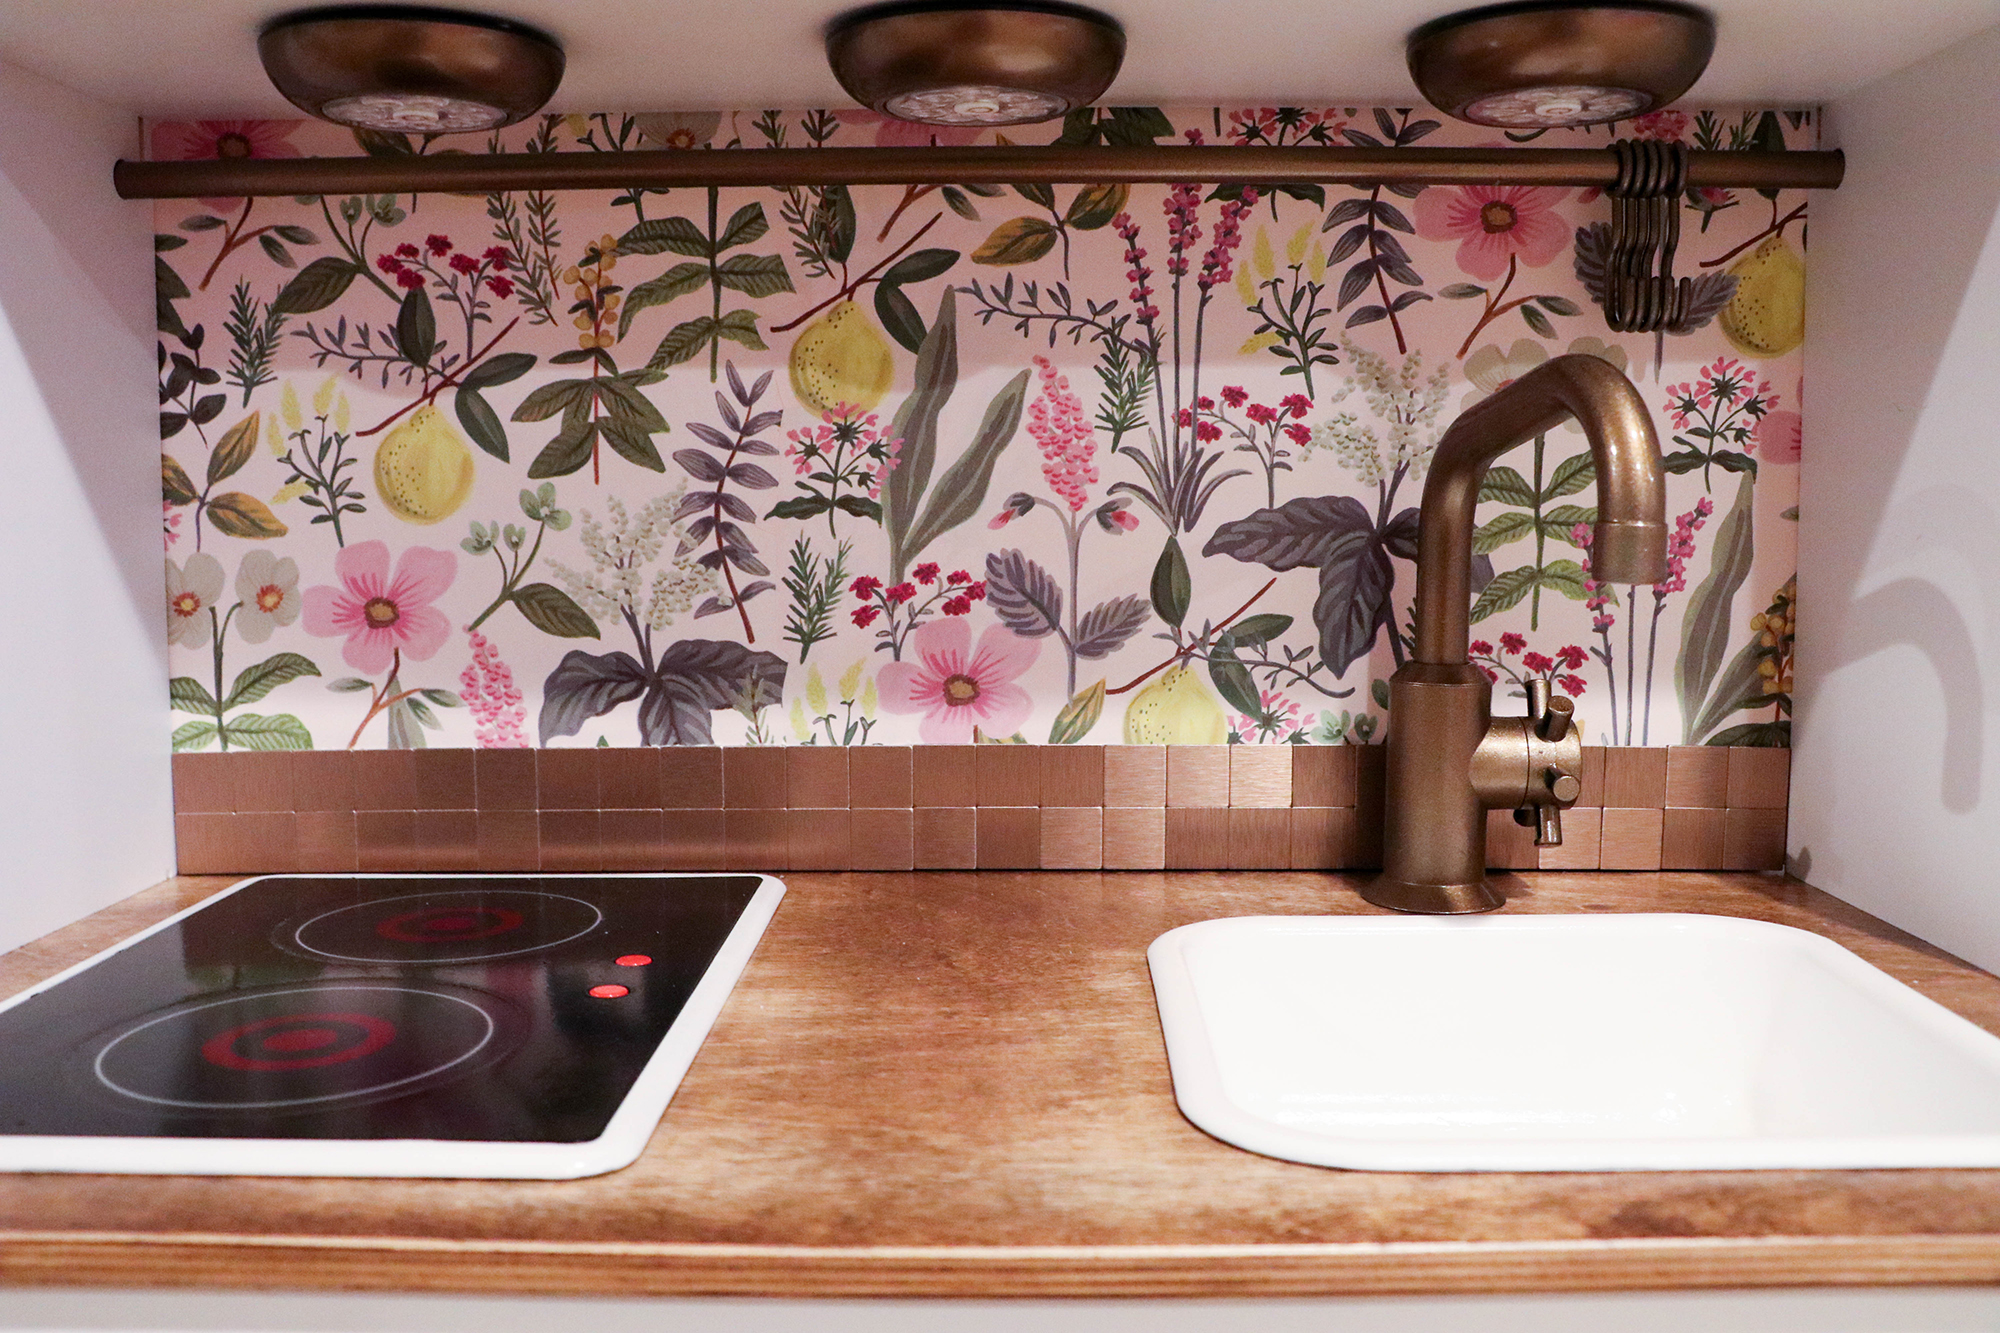
Now that the kitchen was fully assembled, it was time to add some more vintage-styled, feminine features to it. So, our original plan was to use Mod Podge to adhere our Rifle Paper Co. gift wrap to a foam board, however it bubbled up really bad and there was just nothing we could do to get the bubbles out. We were afraid the imperfections would be even more highlighted by the fact we were installing puck lights next. So, with one of the three sheets included in the Rifle Paper Co. gift wrap, we used a glue stick to adhere the beautiful and heavy-weight gift wrap to another foam board. We cut the foam board to size first, leaving enough room in order to attach it to the back of the kitchen hutch with screws in the four corners. Since the particular print we purchased did not bleed to the edge of the sheets, we applied a cut out technique to the one side of the paper to overlay it for the seam. We applied the glue stick to any pointy parts of the cut out, to make sure it would stay down.
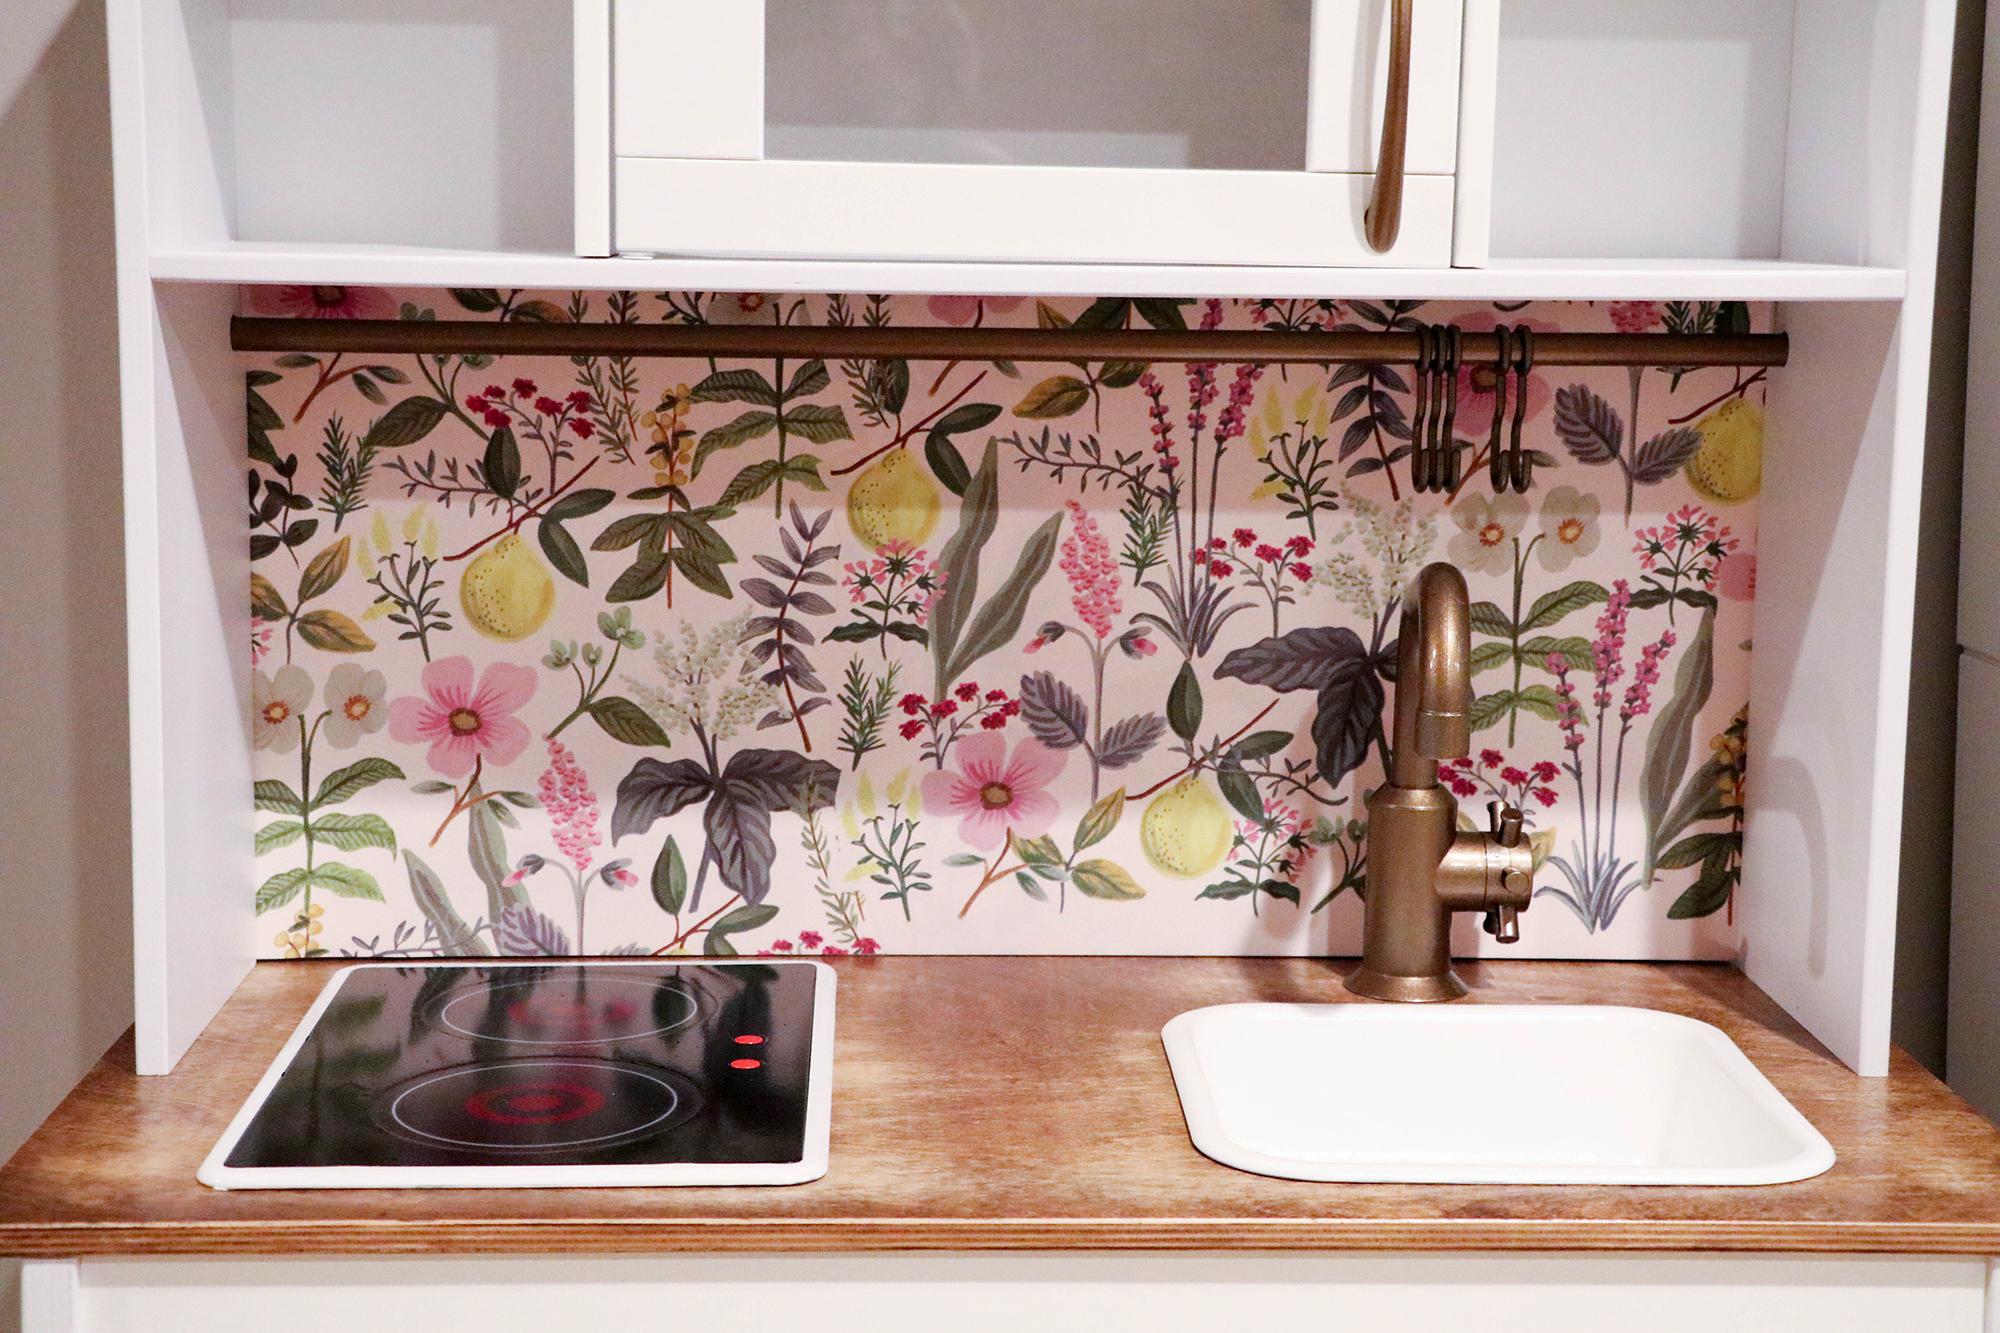
After installing the board to the kitchen, we cut out a strip of 3-squares-tall self-stick back-splash tile to see what it would look like in location. From that trial run, we noted that 3 tall was too tall, it just hid too much of the beautiful wallpaper. So, we scaled it back and cut the remaining 2-squares-tall. Once it was in its trial-run position and we were happy with the look, we removed the sticky cover and pressed the tile down to the “wallpapered” foam board.
Lighting
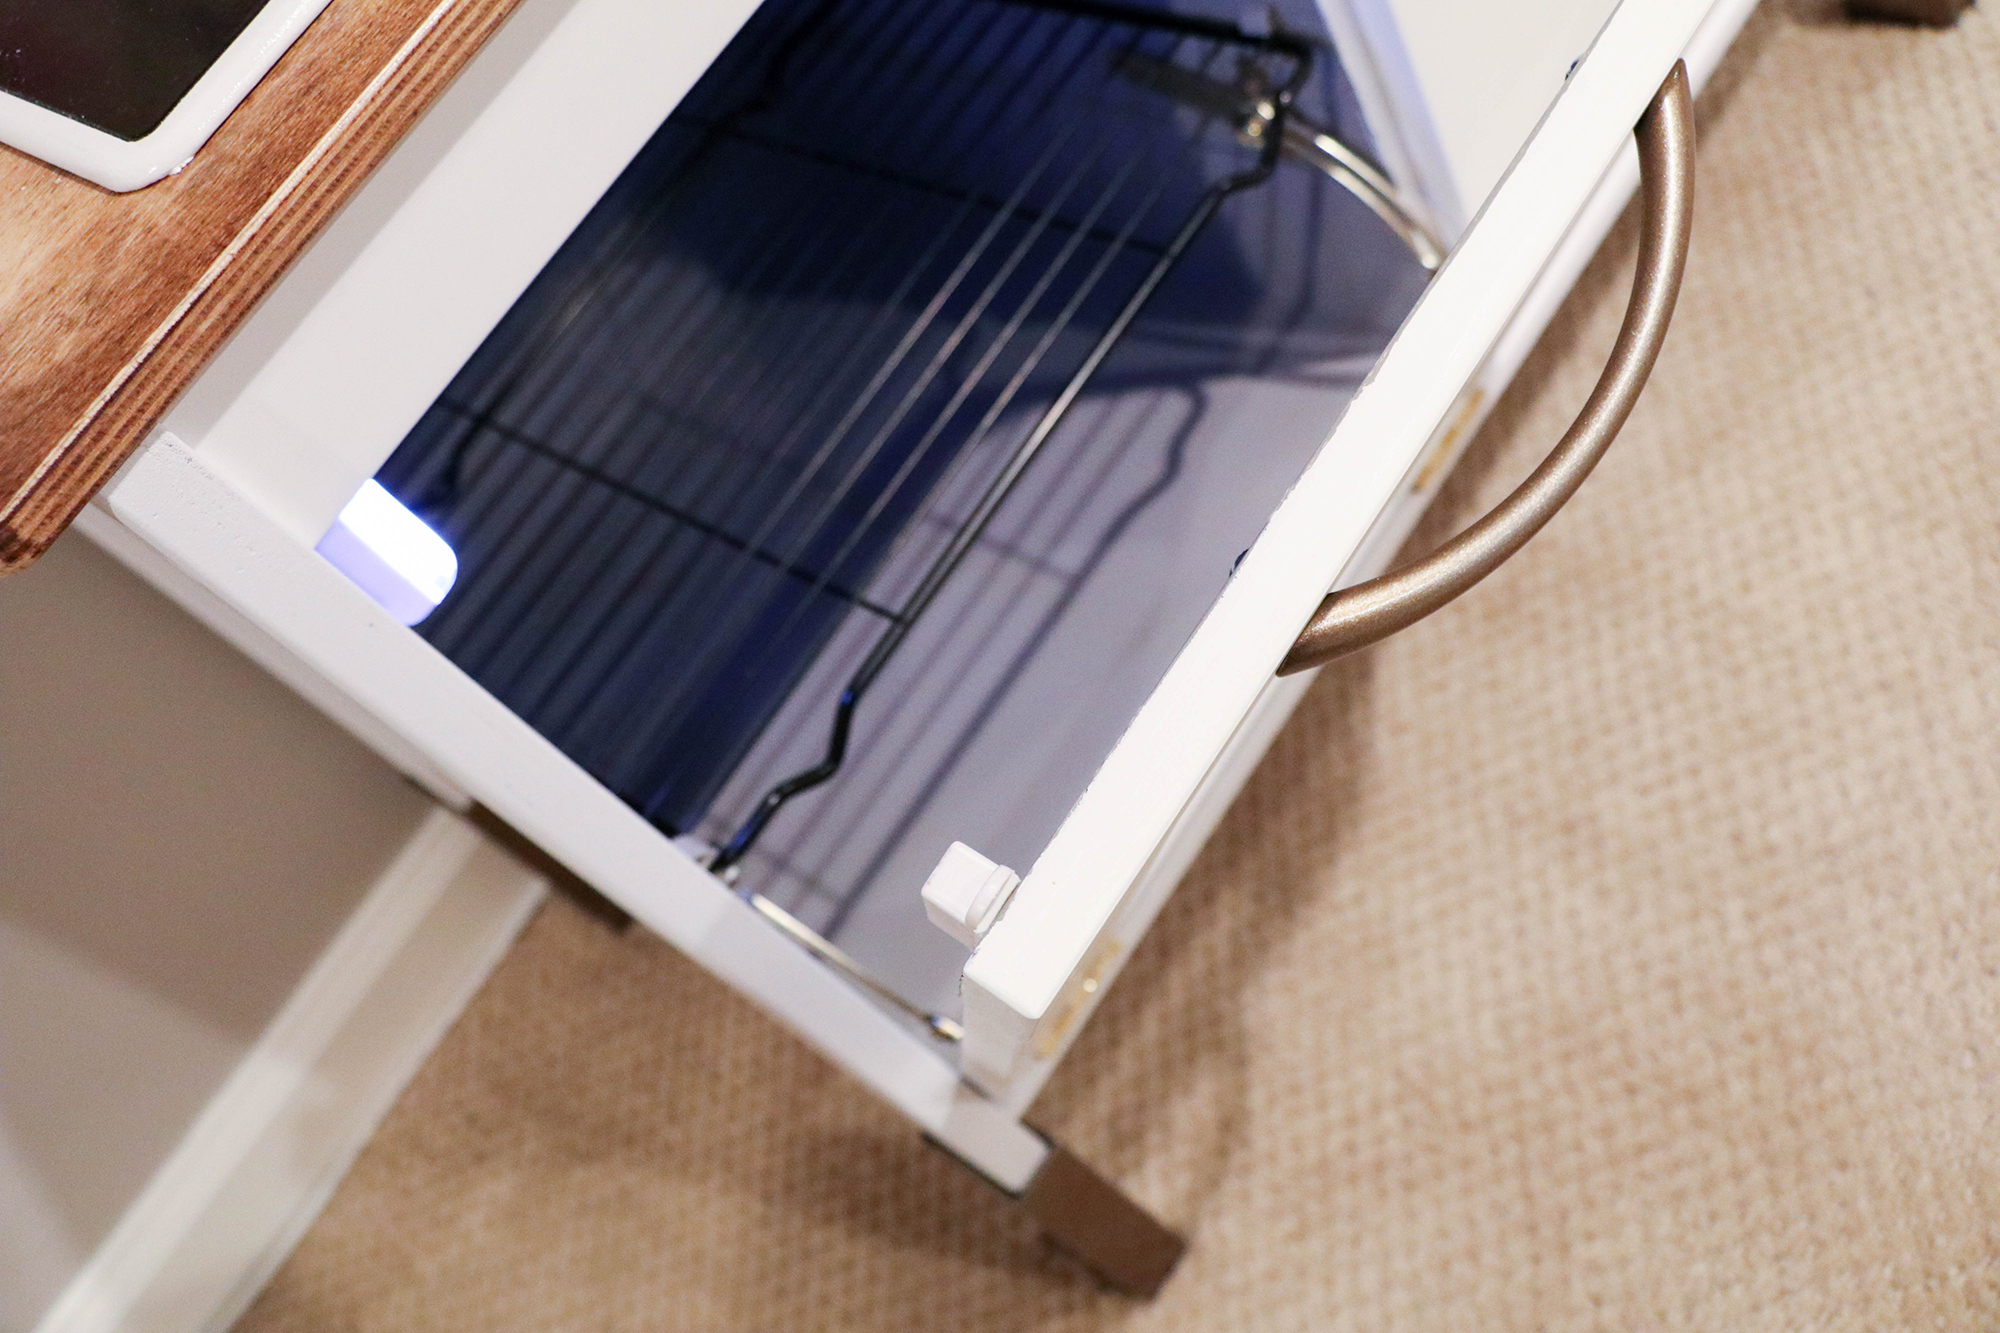
Yes, I mentioned earlier that I would chat about this a couple of times. We were now onto the final stretch. If you remember from the earlier shopping list, we had a set of three bronze-colored self-stick, battery-powered puck lights and also four magnetic-enabled cabinet lights. We attached the puck lights first, the one centered and then the two to the side using both a ruler to measure for equal distance and also just eyeballing our work. This went relatively quickly.
Once the puck lights were installed, we took the remaining four magnetic-enabled, self-stick lights and attached them carefully inside the freezer, refrigerator, oven, and microwave so that they would be triggered when the doors were opened. These were a bit more tricky to install since you had to line them up perfectly in order to work right and we tested the positioning over and over again before pushing down on the sticky surface hard for final adherence.
Accessories
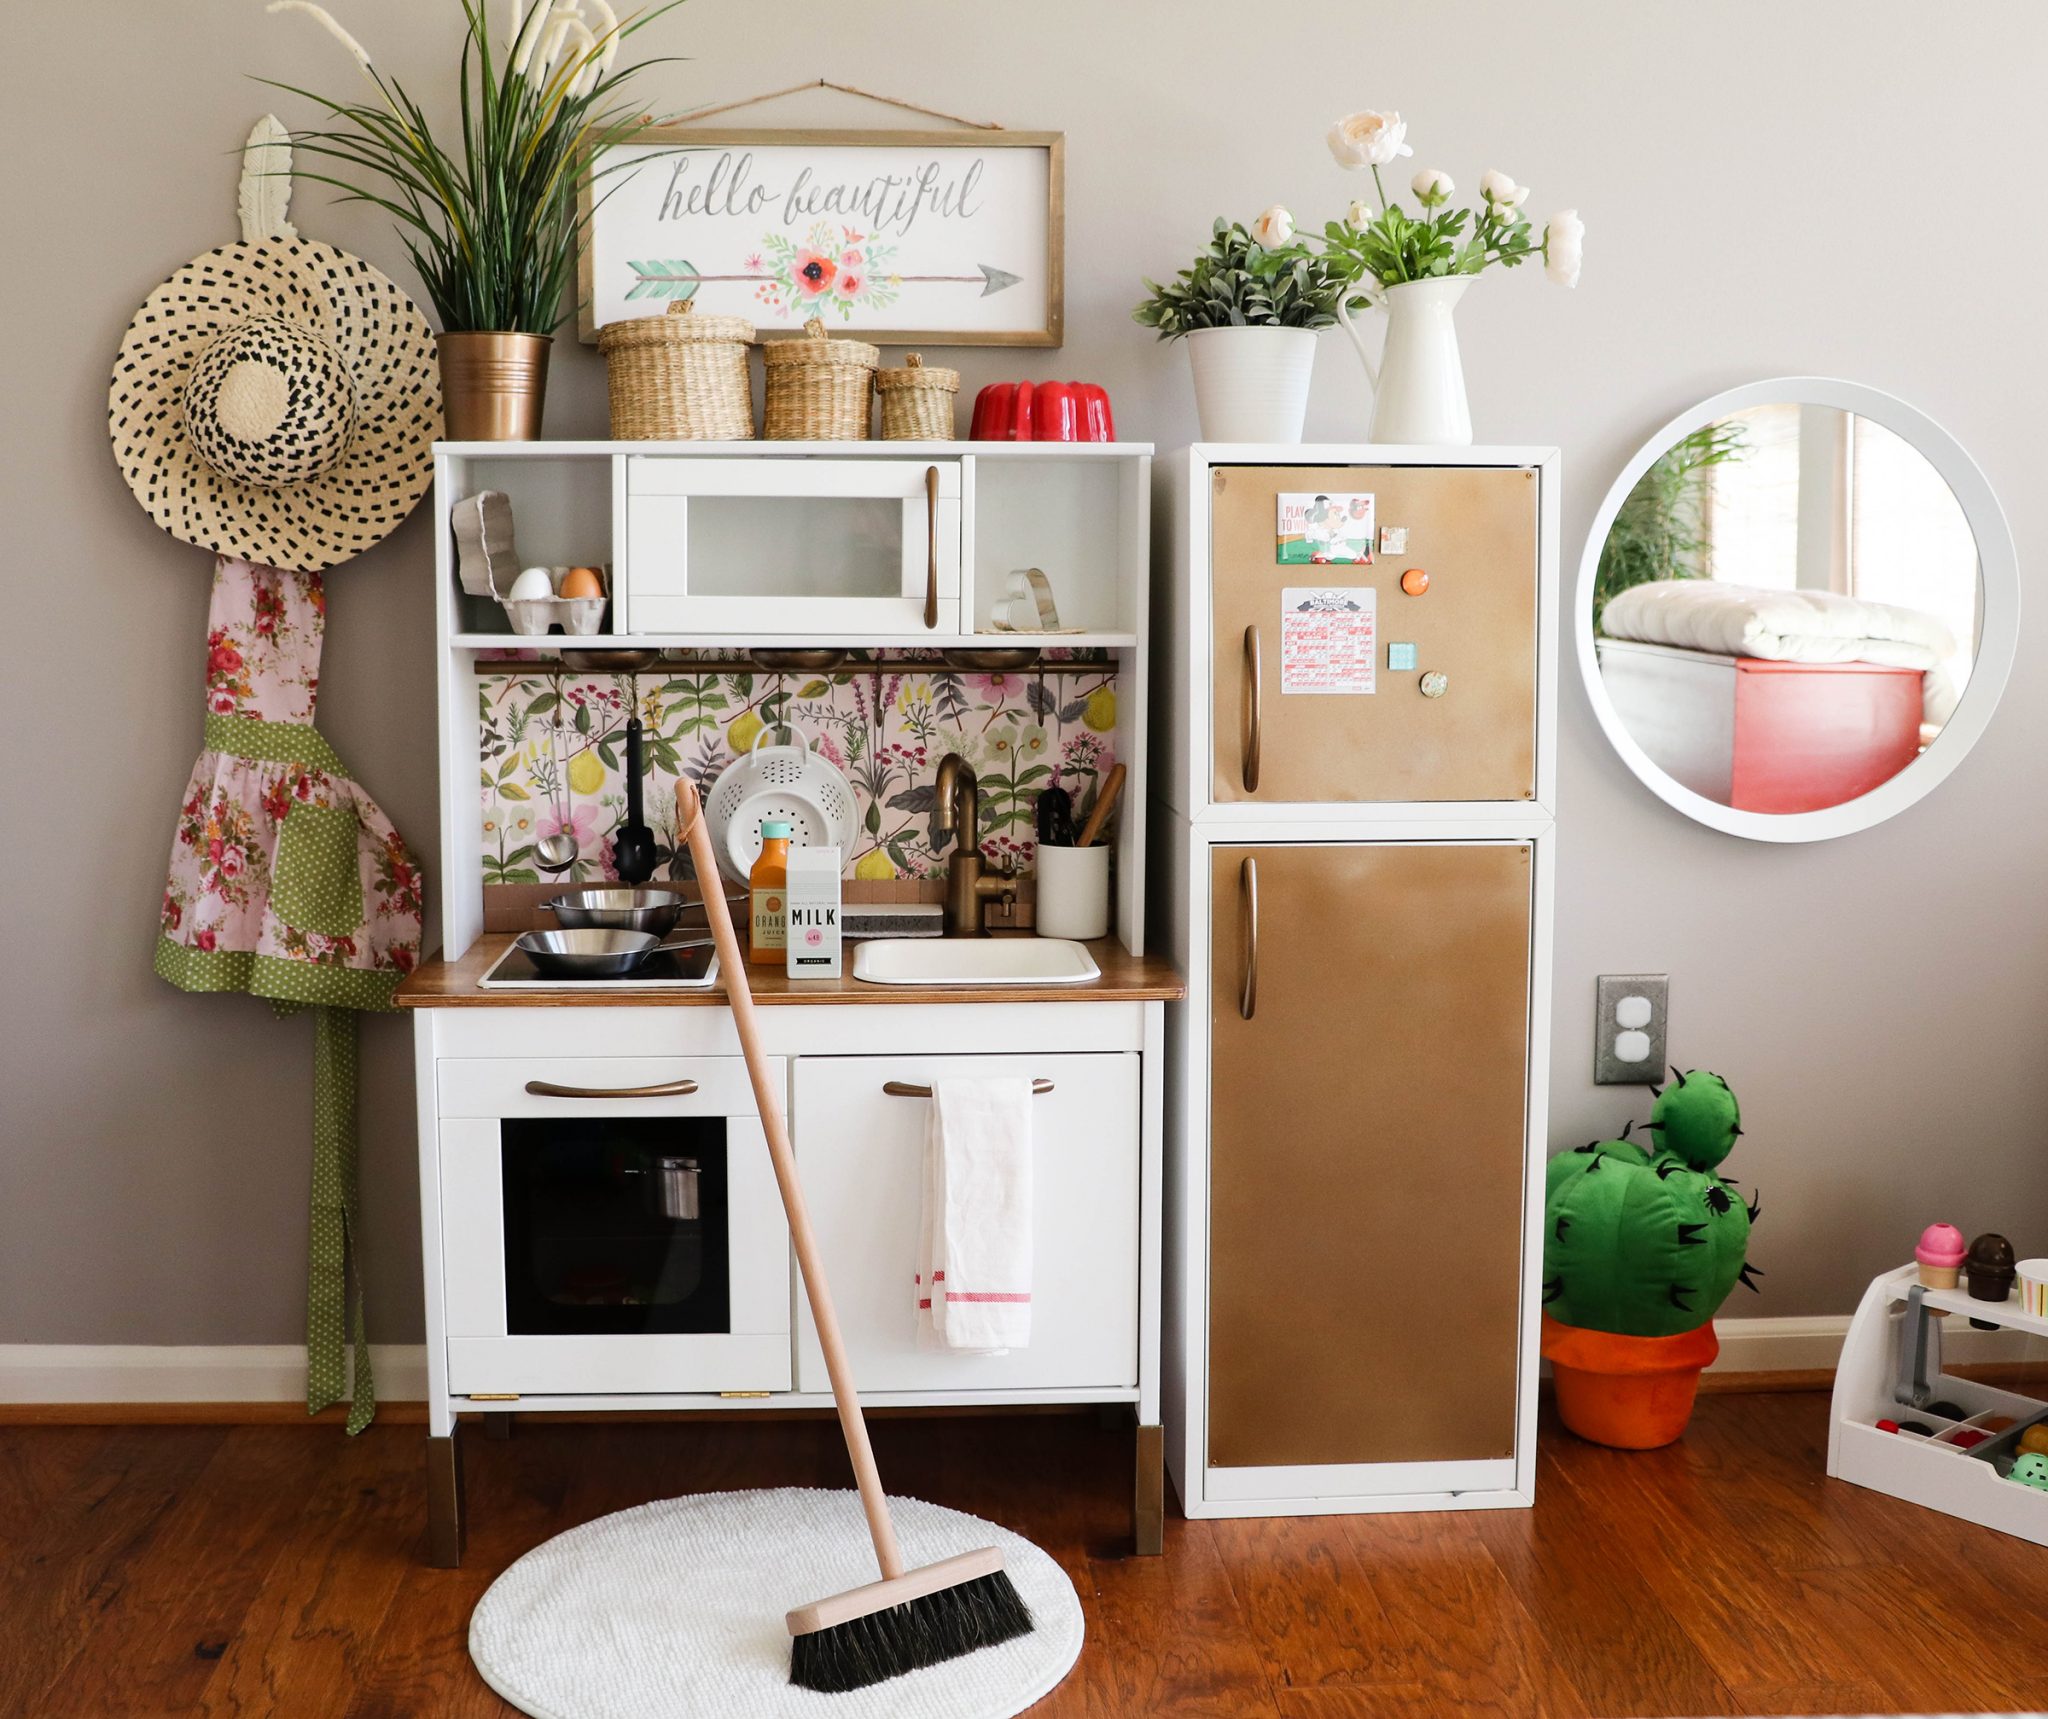
Now that the kitchen was fully assembled, it was time to accessorize! Getting the kitchen positioned on the wall just where we wanted it, allowed us to hang some items on the wall surrounding the kitchen. Everything else we staged just like a real kitchen.


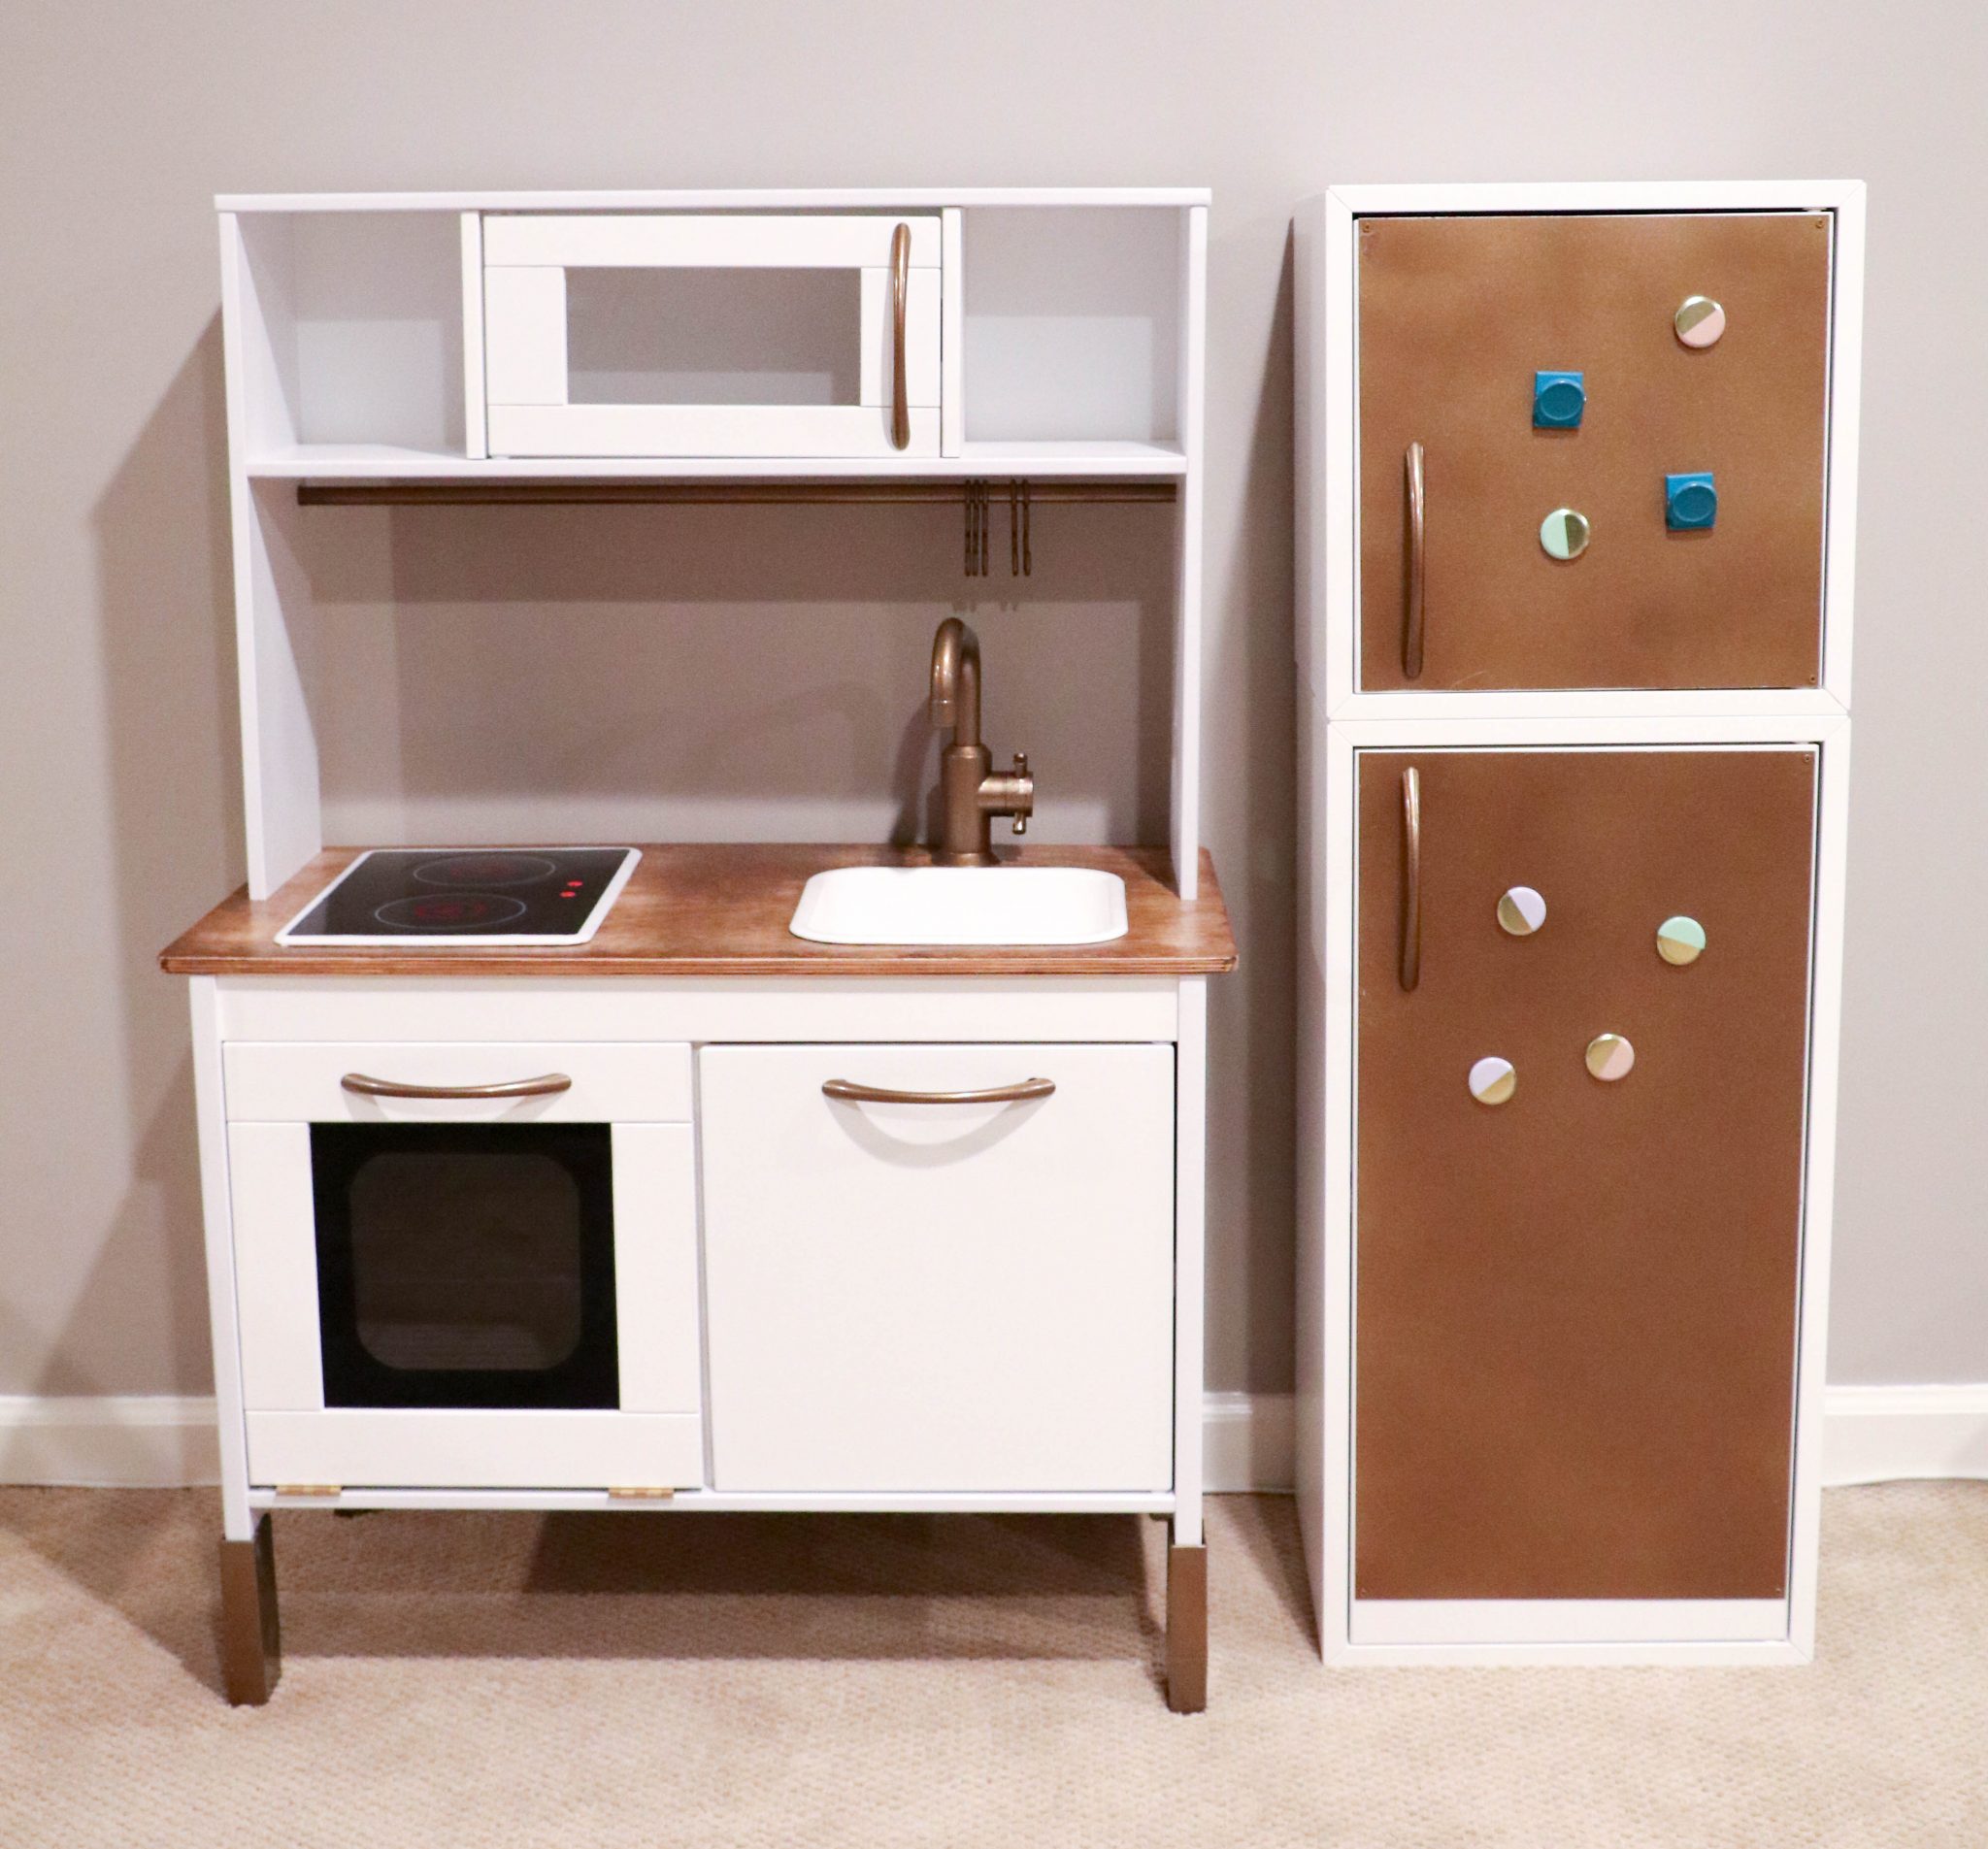
In early 2018, we relocated our IKEA hacked DUKTIG children’s play kitchen to the first floor of our home, with a playroom build out. Here’s how it looks today:
Inspiration:
We really couldn’t have done this without all of the wonderful ideas of the IKEA hackers before us. I hope we will be able to inspire you with our choices too.
- Sandpaper and Silly Putty: stained countertop, oven rack, oven door on hinges, oven door glass spray painted with black frame, most of the kitchen spray painted white except for the countertop, so it would stand out.
- BABiEKINS: IKEA TAG handles, spray painted “metal” components all the same antiqued looking color (though we opted for bronze), undercabinet puck lights (though several DUKTIG IKEA hacks have this for an idea, we saw it many times). Link removed May 2019 – it was returning an error.
- @thishausofours Instagram photos: using Rifle Paper Co. wrapping paper as kitchen wallpaper.
We incorporated several of our own ideas:
- Gray-painted oven interior
- The entire freezer / fridge combo
- The magnetic enabled lights throughout the oven, microwave, freezer, and refrigerator
- Backsplash along with the wallpaper
- Farmhouse-white sink (and matching edge to the stove top)
Ultimately, for the scope of work, not including the many times we had to wait for paint or adhesive to dry (where much time was spent), this took about 20 hours in total. Spread out on weekends and evenings when the little one was napping. From start to finish, this was done within a month span.
Social Follow and Share
So. In. Love. Check out our most recent project: #ikeahacking #ikeaduktig children’s play kitchen! https://t.co/XwZBwE55If #ikeahack pic.twitter.com/u1MO7j49ma
— Saving Amy (@savingamyblog) April 6, 2017
Saving Amy is a participant in the Amazon Services LLC Associates Program, an affiliate advertising program designed to provide a means for sites to earn advertising fees by advertising and linking to amazon.com.
The Saving Amy blog web site is in no way related to and/or endorsed by IKEA®, IKEA.com OR The IKEA Group. All IKEA product links are provided for reader convenience and do not imply IKEA’s approval of this blog web site nor the modification of its products. IKEA and Saving Amy are not liable for any product failure, injury, or damage resulting from modifications to IKEA product assembly and use.