In this eight-post blog series, I’ll review the step-by-step details on how my husband and I transformed our master bedroom, walk-in closet, and bathroom – all do-it-yourself and with budget-conscious decisions, materials. Follow along from the beginning of our journey to the project completion for inspiration, encouragement, and knowledge that you can put to use.
In the last post, Part 6, we reviewed DIY Tufted Headboard & Accent Pillows. Here, we review DIY Bathroom Makeover on a Budget in Part 7. You can easily jump between all parts of the project here:
- Master Bedroom Retreat, Overview: Before & After
- Master Bedroom Retreat, Part 1: DIY Painting Walls
- Master Bedroom Retreat, Part 2: DIY Walk-in Closet Makeover [Video]
- Master Bedroom Retreat, Part 3: Furnishings, Decor & DIY Painting Dresser, Side Tables
- Master Bedroom Retreat, Part 4: DIY Wood Planked Accent Wall
- Master Bedroom Retreat, Part 5: DIY Upcycled Mantel Headboard
- Master Bedroom Retreat, Part 6: DIY Tufted Headboard & Accent Pillows
- Master Bedroom Retreat, Part 7: DIY Bathroom Makeover on a Budget – you’re reading it!
Let’s Get Started with the Bathroom Makeover on a Budget
In 2007, at the time our home was constructed, it was still a relatively common occurrence to go “dark” in rooms. Only of late, has the trend really skewed to light, grays, pure whites, again. At the time, dark slate-colored tile was selected for the Master Bathroom flooring, shower, tub surrounds and a dark gray wall paint to boot. In early 2017, we looked into having the bathroom retiled, as well as replacing the rather large and unused soaking tub with a smaller tub that would take up less of a foot print. That would require rerouting of the plumbing work. We also were interested in the more common seamless shower glass you see now as well. We had two different contractors out to quote and the only one that priced the project for us ($12,750, not including the new tub itself nor the seamless shower doors), although within reason for what we expected the quote to be was just way more than we wanted to “sink” into a bathroom that we would never recoup at house sale in as little as 1-3 years from now. Which is what ultimately led us to decide to modernize the bathroom a bit, but for as low a cost as possible.
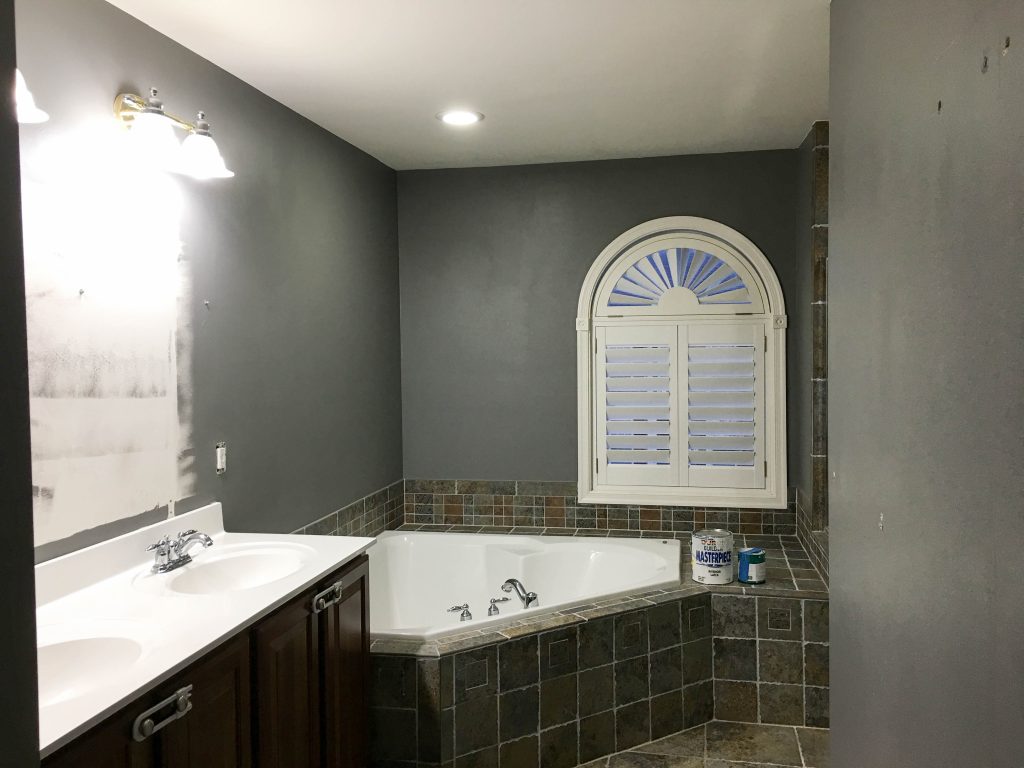
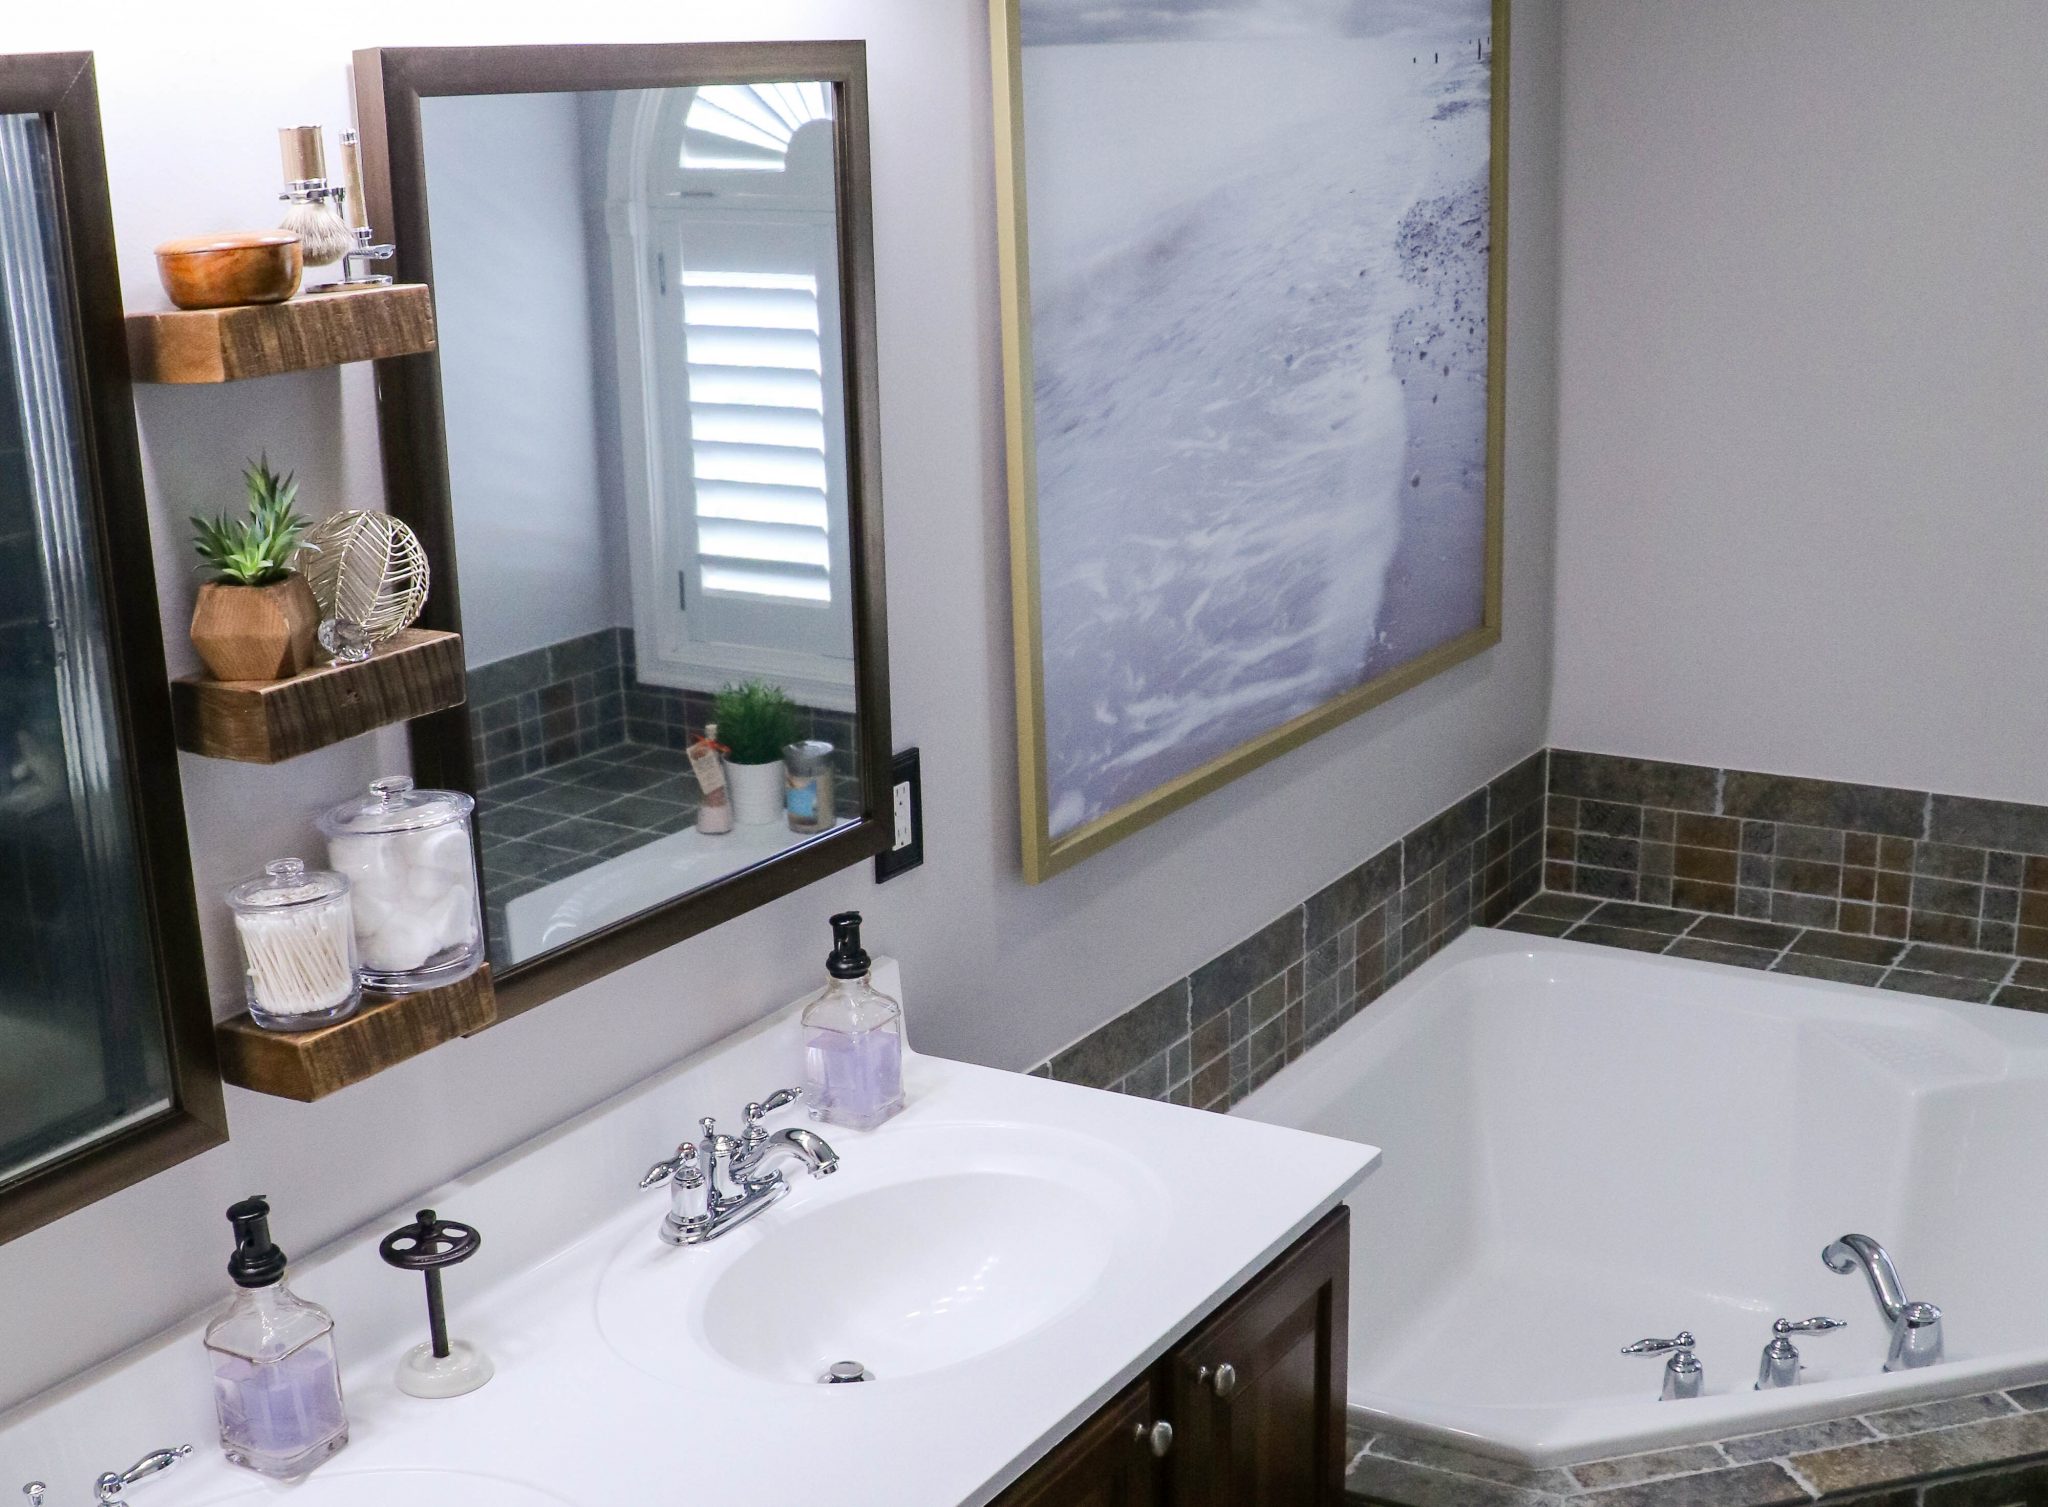
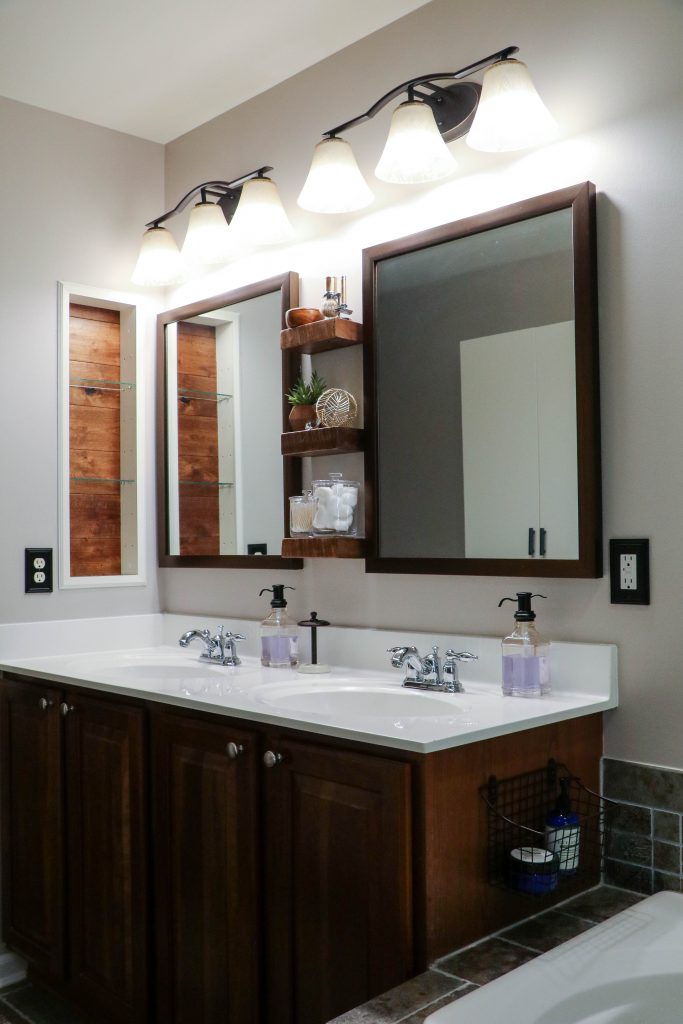
In order to brighten the space, we hired a painter for $360 (as much as I love to paint, I was pregnant by this time), to coat with interior Sherwin-Williams Alpaca in Satin sheen. That instantaneously made the 10-year-old space feel fresh and new again. It also brightened some of the dark corners. We replaced the two vanity light fixtures with a pair we found on deep discount clearance ($31 ea.) and also all new towel, toilet paper, and faceplate hardware ($65) to match the bronzey accent color throughout, all at Lowes. Instead of one large unframed mirror, we went with two individual fogless, framed mirrors we found at Home Depot. We liked the simpleness of the frame, after looking at Lowes, Hobby Lobby, and online for mirrors within budget. We sold the previous mirror to a neighbor for $80 and the new mirrors set us back $60 ea., or $40 in realized out-of-pocket costs. In between these, three floating, reclaimed, solid pine 2″x4″x8″ wood shelves we found on Amazon for $35 ea. We had also searched IKEA first too, but they just wouldn’t have worked in our restricted dimensions.
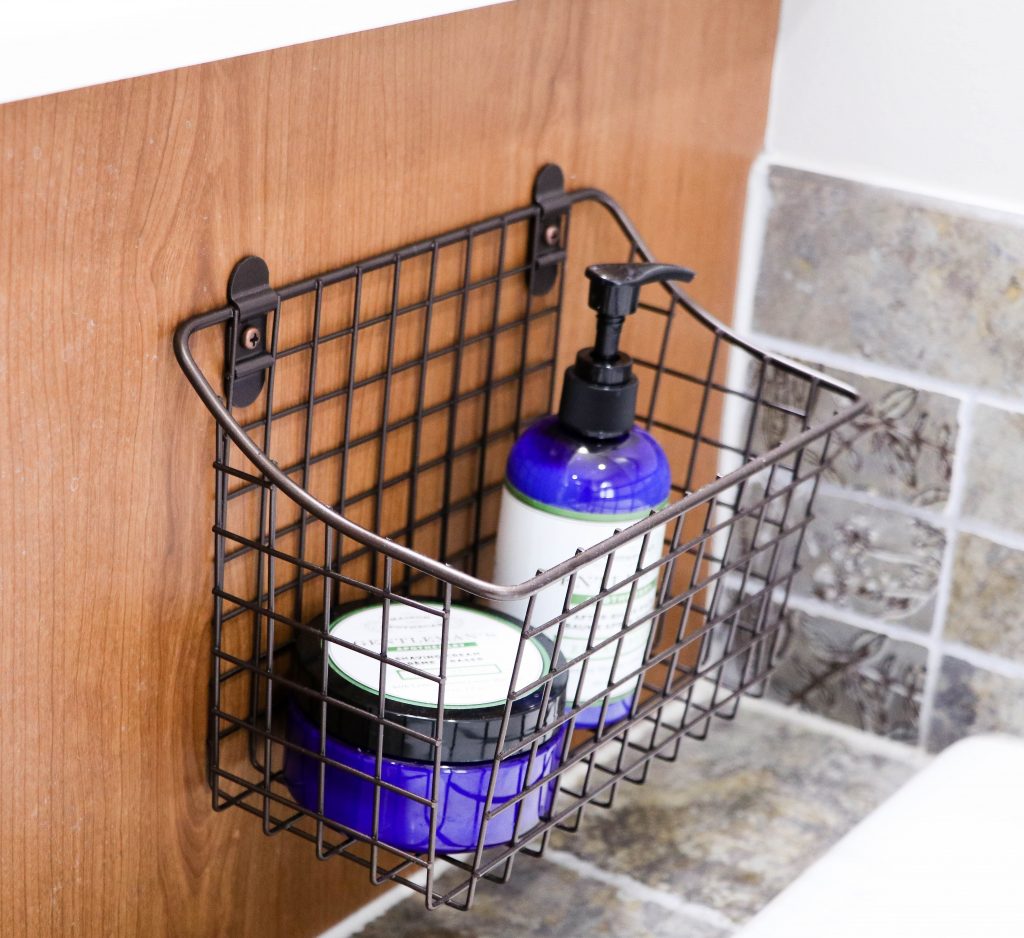
To maximize countertop space, we added an installed basket to the far side of the vanity (not seen when entering the room) in 10″x5″x7″ also in a bronze finish from Amazon for under $20.
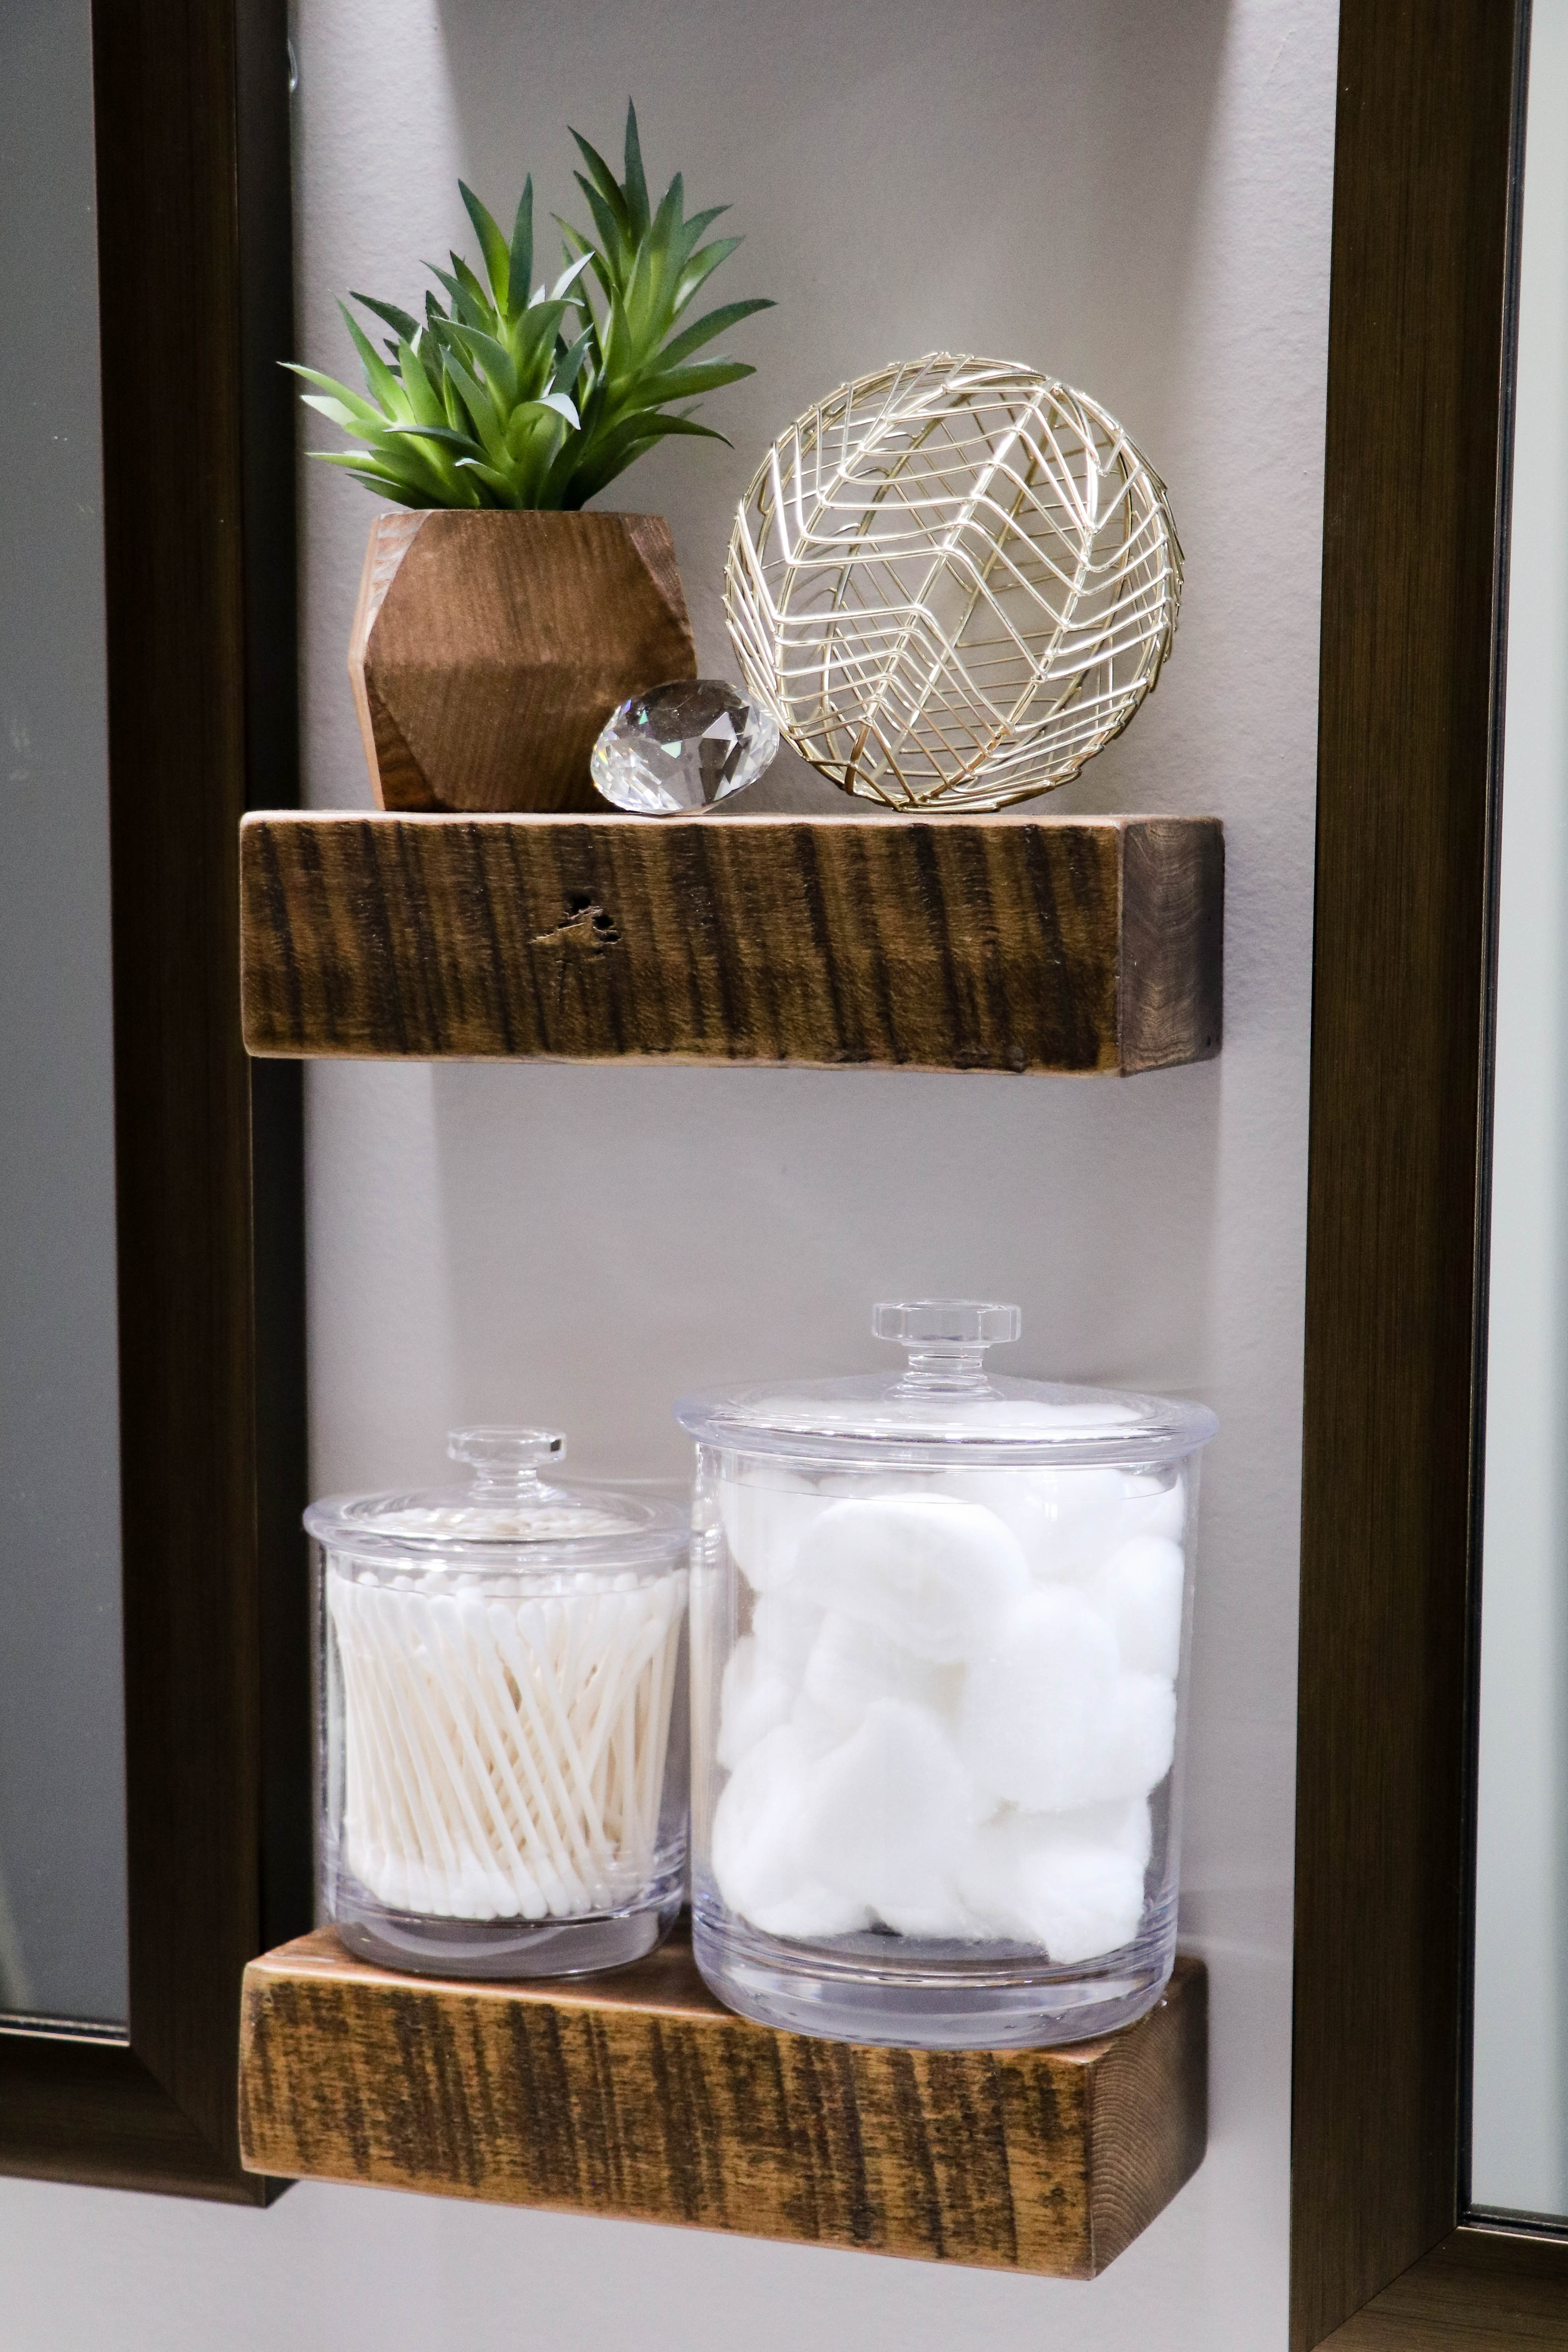
And, converted our pre-existing mirrored medicine cabinet to an open-air shelf, estimated to be around $88 for the whole project. We already had the paint and backer, from previous house projects, so didn’t include those costs.
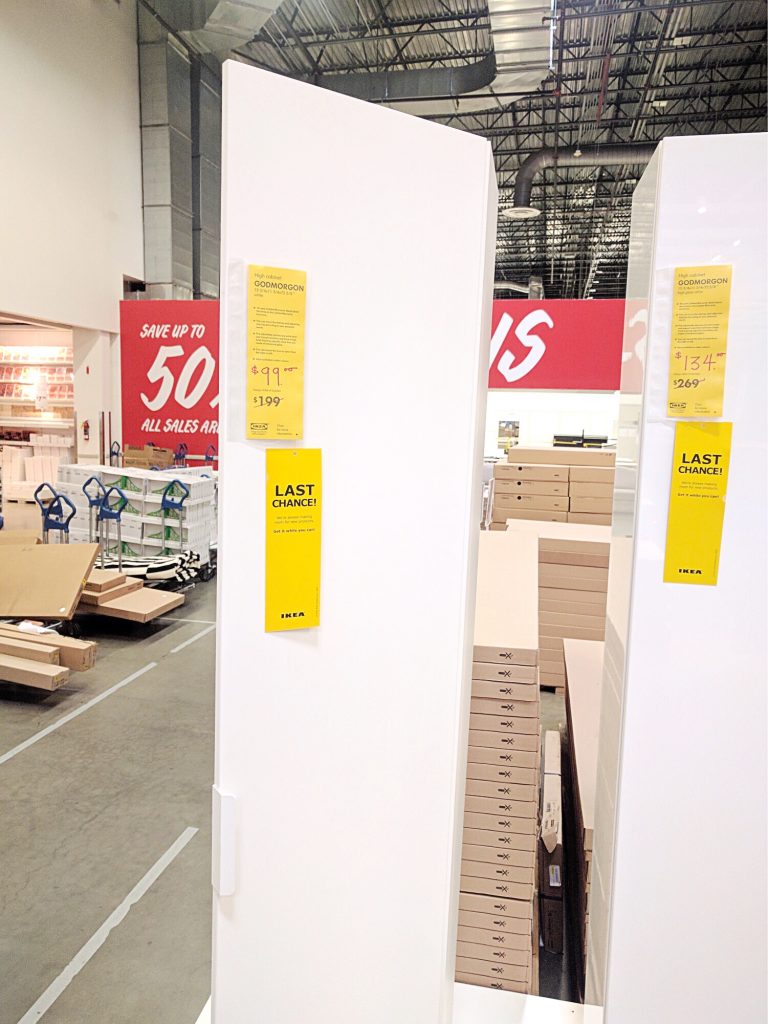
On the opposing wall, we sold off our previous dark brown floating cabinets from IKEA on our local Facebook Marketplace for $80 for the set and replaced with two side-by-side, white, floating GODMORGON cabinets from IKEA “Last Chance” items on discount for $99 ea., or realized cost of $118 combined. We opted to not install the included IKEA cabinet handles, and went with a bronze-colored pair from Lowes for $5 ea. These cabinets serve as extra bathroom storage since we do not have a linen closet accessible from this bathroom.
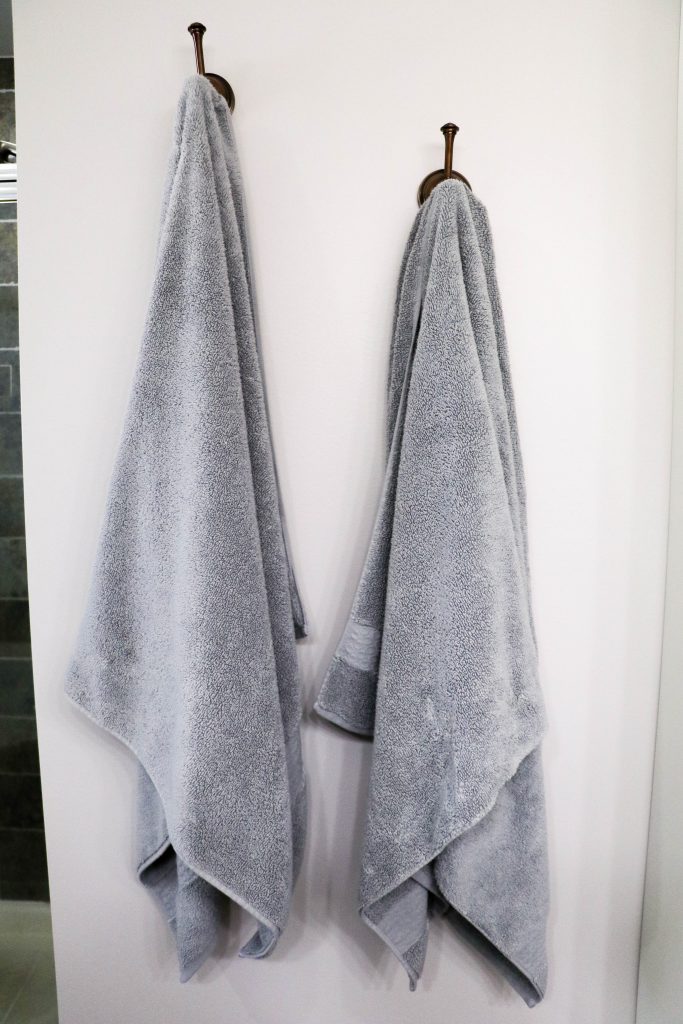
New linens were ordered to correspond to the color scheme: bath towels ($19 ea.) and washcloths ($7.60 ea.) from Wayfair. A Wamsutta shower rug for $16 from Bed, Bath, and Beyond (after 20% off coupon). And, a 2’3″x5′ vanity runner from Overstock for $36.79. We added a non-slip pad under the large rug for under $10 on Amazon.
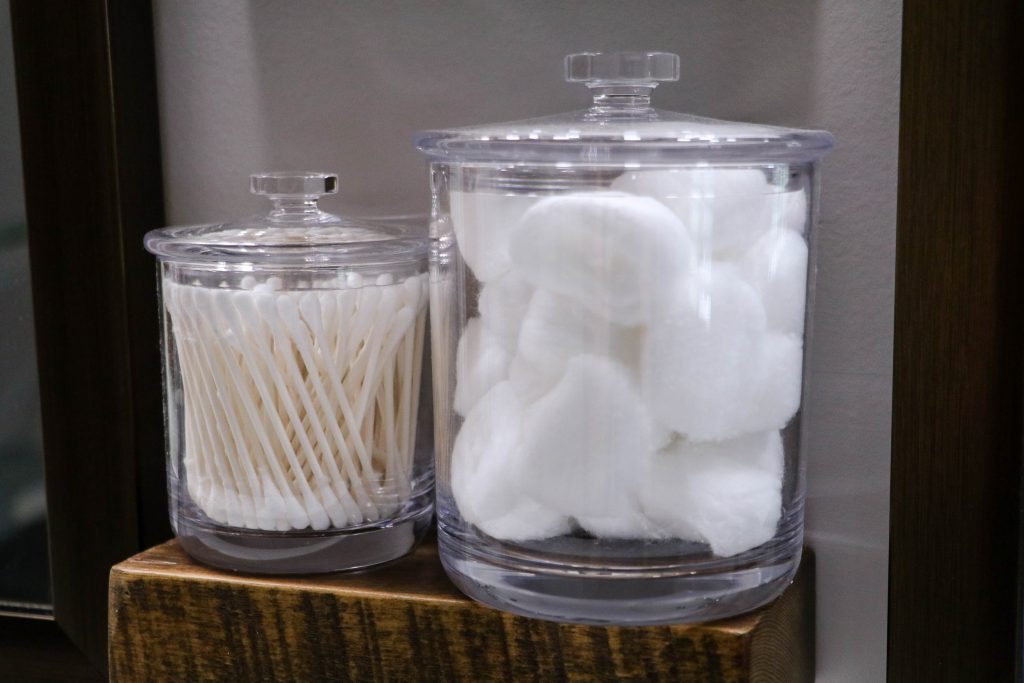
For accent pieces, we bought a set of plastic apothecary jars off Amazon for $25.
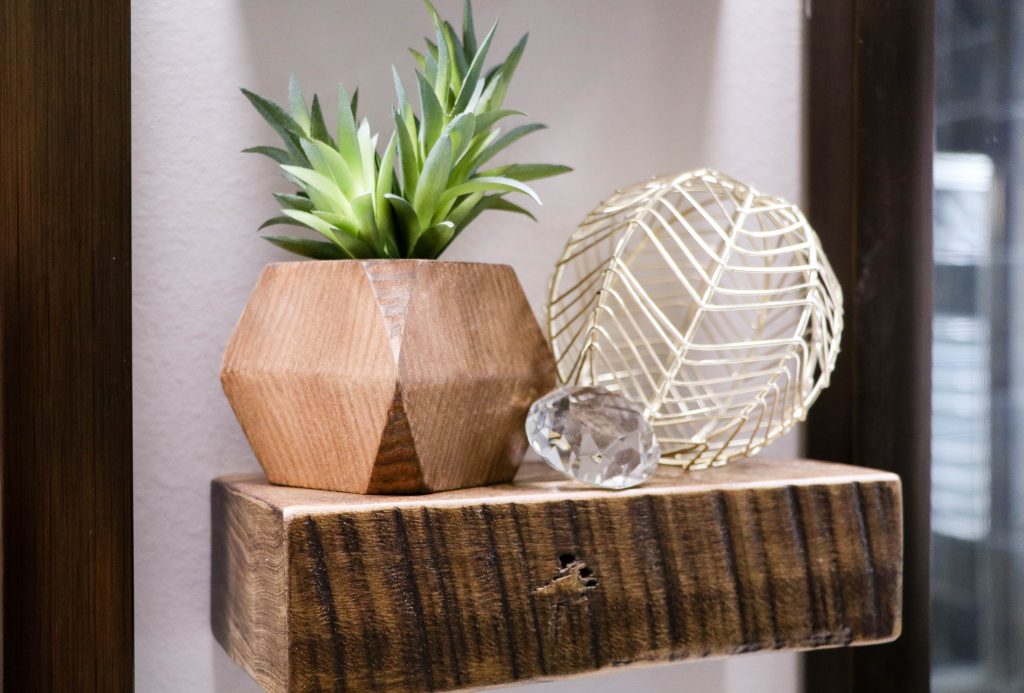
A small faux plant was added to a floating shelf from Target for about $10. And, a gold-toned spherical ball and faux diamond piece from Hobby Lobby for under $5 ea.
We used the remaining floating shelf to display my husband’s vintage-looking shave set. On the corner of the soaking tub, a FEJKA faux plant from IKEA, along with a ceramic white vase, for $10 combined. Finally, along the largest wall space, a BJÖRKSTA beachy canvas print and frame from IKEA for $69.99.
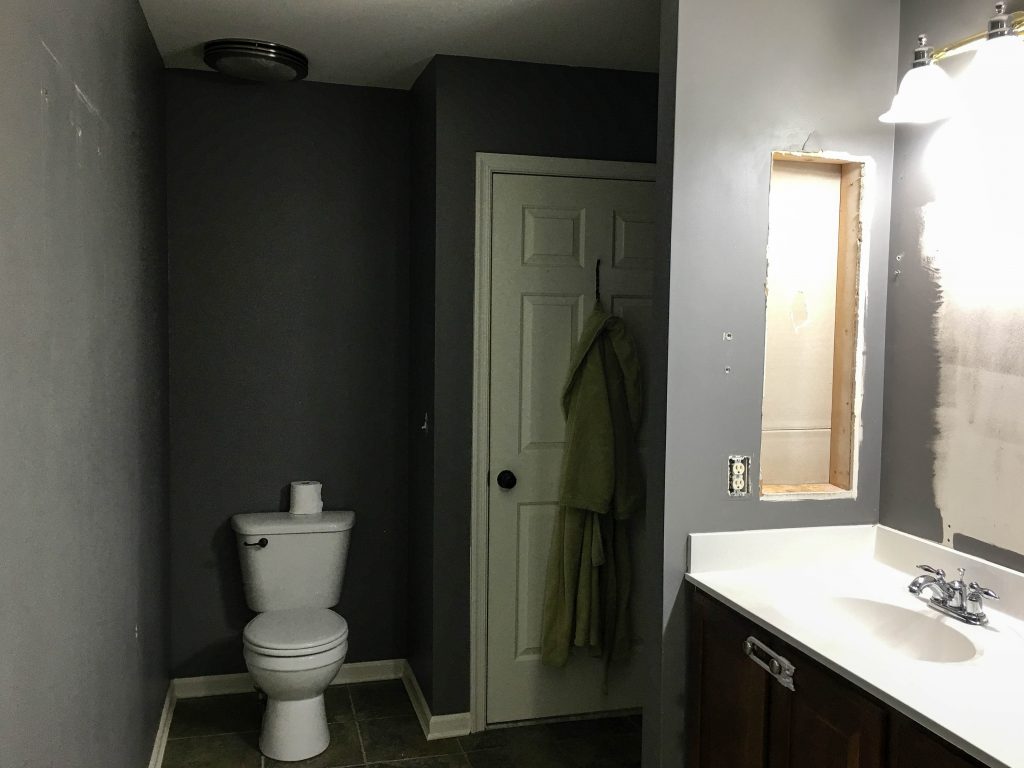
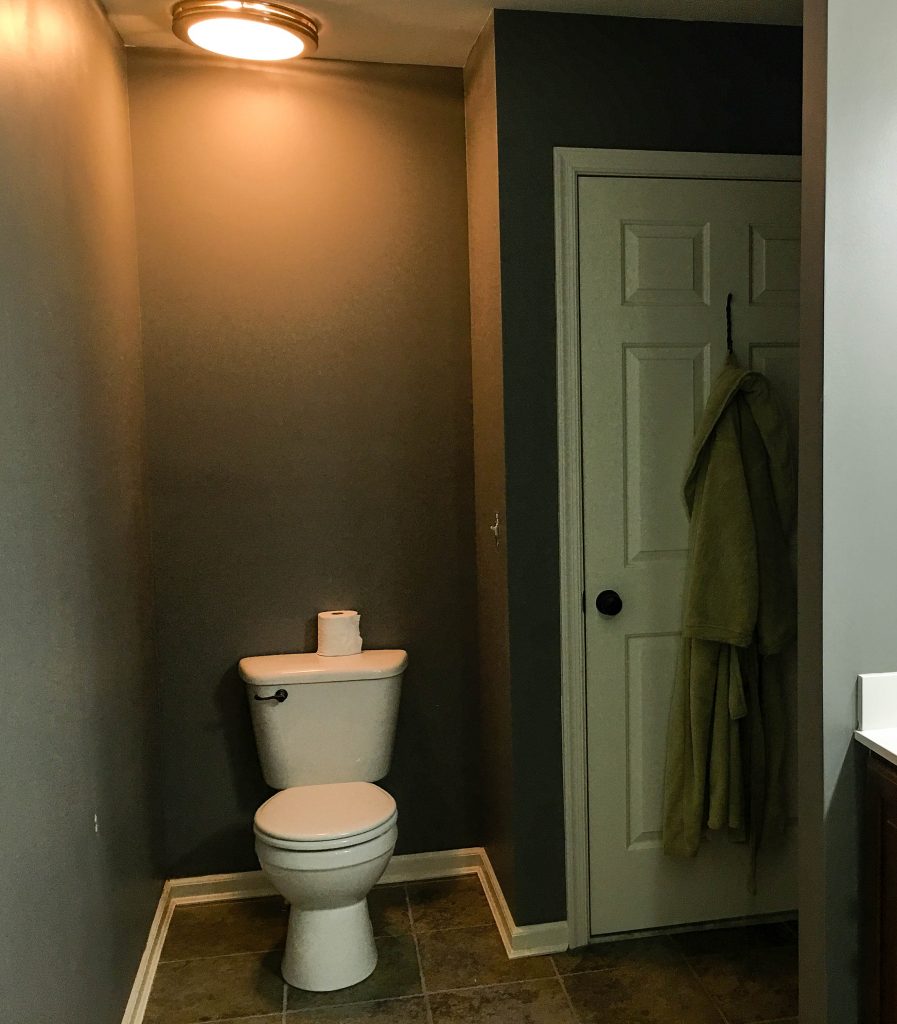
If you’re curious about the light over the commode, that previously was a basic bath ceiling fan. With the corner being so dark, we replaced it with a light-fan combo from Lowes and installed by a local contractor found on Amazon Home Services in less than an hour. This happened in 2015 sometime. We approximate the cost for the light-fan combo at $100 and the installation service at $145.
Our final total spend, somewhere in the vicinity of $1,354 (or $1,109 not including the new bathroom fan done a couple of years prior). A fraction (1/10th) of the contractor’s estimate and well on our way to helping the home sell when we’re ready for our next adventure.

All-in-all, know that when you don’t have unlimited funds to makeover a bathroom, you can still apply some simple fixes to make the room feel a little more current.
Social Follow and Share
Master Bathroom Makeover on a Budget https://t.co/aVWIfWSweb #bathroomdesign #budgetdesign #bathroommakeover #beforeandafter #designrefresh pic.twitter.com/dlke3ZyAB2
— Saving Amy (@savingamyblog) June 5, 2017
Saving Amy is a participant in the Amazon Services LLC Associates Program, an affiliate advertising program designed to provide a means for sites to earn advertising fees by advertising and linking to amazon.com.